No products in the cart.
15 Thanksgiving Recipes For Small Families
If you’re part of a small family celebrating Thanksgiving, you might be wondering how to create a festive yet manageable meal. You don’t need a massive turkey or an overwhelming array of side dishes to make the day special. Instead, consider focusing on 15 thoughtfully curated recipes that offer both flavor and convenience. From herb-roasted turkey breast to mini pumpkin pies, these options cater to smaller gatherings while ensuring everyone leaves satisfied. What might surprise you is how simple it can be to craft a memorable feast without the fuss.
Contents
hide
Herb-Roasted Turkey Breast
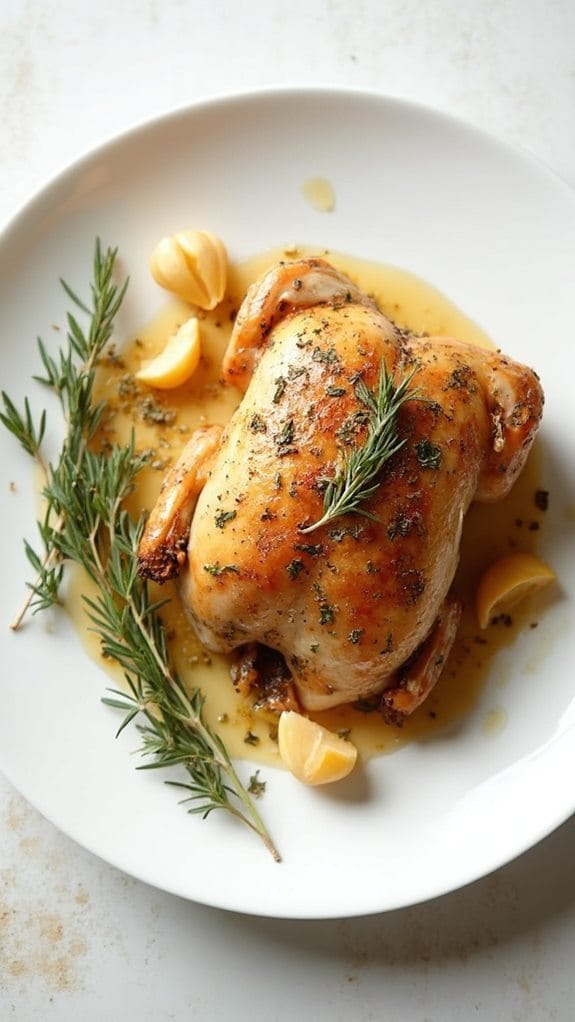
Title: Herb-Roasted Turkey Breast
Prep Time: 15 minutes
Cook Time: 90 minutes
Number of Servings: 4
Required Equipment List: Roasting pan, meat thermometer, cutting board, aluminum foil
Cuisine Type: American
This Herb-Roasted Turkey Breast is an excellent choice for small families looking to enjoy a traditional Thanksgiving feast without the need for a whole turkey. The recipe features a succulent turkey breast seasoned with aromatic herbs, resulting in a flavorful and juicy centerpiece that isn’t only easy to prepare but also allows for plenty of leftovers.
The combination of rosemary, thyme, and garlic elevates the dish, making it a delightful meal that captures the essence of Thanksgiving. Cooking a turkey breast is much quicker than roasting a full bird, making it ideal for those who want to celebrate the holiday without spending all day in the kitchen.
Paired with your favorite sides, this herb-roasted turkey breast offers a comforting and festive experience, perfect for creating lasting memories with loved ones during the holiday season.
Ingredients:
- 1 (3-4 pound) bone-in turkey breast
- 2 tablespoons olive oil
- 2 teaspoons salt
- 1 teaspoon black pepper
- 2 teaspoons dried rosemary
- 2 teaspoons dried thyme
- 4 cloves garlic, minced
- 1 cup chicken broth
- Fresh herbs for garnish (optional)
Instructions:
- Preheat your oven to 350°F (175°C). Prepare a roasting pan by lightly greasing it with cooking spray or a bit of olive oil to prevent sticking.
- In a small bowl, mix together the olive oil, salt, pepper, rosemary, thyme, and minced garlic to create a herb paste. Rub this mixture all over the turkey breast, ensuring to get under the skin for maximum flavor.
- Place the seasoned turkey breast in the roasting pan, breast side up. Pour the chicken broth into the bottom of the pan to keep the meat moist during cooking.
- Roast the turkey in the preheated oven for about 1.5 hours, or until the internal temperature reaches 165°F (75°C) when measured with a meat thermometer. Baste the turkey with the pan juices every 30 minutes to enhance moisture and flavor.
- Once cooked, remove the turkey breast from the oven and cover it loosely with aluminum foil. Let it rest for at least 15 minutes before slicing to allow the juices to redistribute.
- After resting, carve the turkey breast on a cutting board and serve with your favorite sides. You can use the pan juices as a delicious gravy to drizzle over the slices.
Extra Tips: For added flavor, consider brining the turkey breast overnight in a solution of water, salt, and herbs. This helps enhance moisture and taste.
If you have any leftover turkey, it makes for fantastic sandwiches or can be added to soups and salads. Experiment with different herbs based on your preferences, and don’t hesitate to adjust seasoning to suit your taste. Enjoy your holiday meal!
Mini Pumpkin Pies

Title: Mini Pumpkin Pies
Prep Time: 20 minutes
Cook Time: 25 minutes
Number of Servings: 6
Required Equipment List: Muffin tin, mixing bowl, whisk, measuring cups, measuring spoons, rolling pin
Cuisine Type: American
These Mini Pumpkin Pies are a delightful twist on the traditional pumpkin pie, perfect for small families or intimate gatherings. With their adorable size, they aren’t only easy to serve but also allow for individual portions that everyone can enjoy.
The spiced pumpkin filling, made with pure pumpkin puree and warm spices, delivers the rich flavors of the classic dessert in a more manageable form. Topped with a dollop of whipped cream, these mini pies are sure to impress your guests and become a holiday favorite.
Making these mini pies is a straightforward process that involves creating a simple pie crust and filling it with a creamy pumpkin mixture. The crust can be made from scratch or store-bought for convenience.
These pies bake quickly, allowing you to have a batch ready in no time. They’re perfect for serving at Thanksgiving or any fall gathering, and their bite-sized nature makes them ideal for those who want just a taste of dessert.
Ingredients:
- 1 pre-made pie crust (or homemade)
- 1 cup pumpkin puree
- 1/2 cup sweetened condensed milk
- 1 large egg
- 1 teaspoon ground cinnamon
- 1/2 teaspoon ground nutmeg
- 1/4 teaspoon ground ginger
- 1/4 teaspoon salt
- Whipped cream (for serving)
Instructions:
- Preheat your oven to 350°F (175°C). Grease a muffin tin with non-stick spray to guarantee the mini pies come out easily after baking.
- Roll out the pie crust on a lightly floured surface to about 1/8 inch thickness. Use a round cutter or a glass to cut out circles that are slightly larger than the muffin tin holes. Press the circles into the greased muffin tin to form mini pie crusts.
- In a mixing bowl, whisk together the pumpkin puree, sweetened condensed milk, egg, cinnamon, nutmeg, ginger, and salt until smooth and well combined. This will be your pumpkin filling.
- Carefully fill each mini pie crust with the pumpkin filling, leaving a little space at the top for the filling to rise as it bakes.
- Bake the mini pumpkin pies in the preheated oven for 20-25 minutes, or until the filling is set and a toothpick inserted into the center comes out clean. Allow them to cool in the muffin tin for a few minutes before transferring to a wire rack.
- Once cooled, serve the mini pumpkin pies with a generous dollop of whipped cream on top for a festive touch.
Extra Tips: For an added flavor boost, consider adding a pinch of cloves or allspice to the pumpkin filling. If you’re short on time, a store-bought pie crust works well and saves effort.
These mini pies can also be made ahead of time and stored in the refrigerator for up to two days. Just reheat them briefly before serving for the best taste experience. Enjoy these delightful bites of fall!
Stuffed Acorn Squash
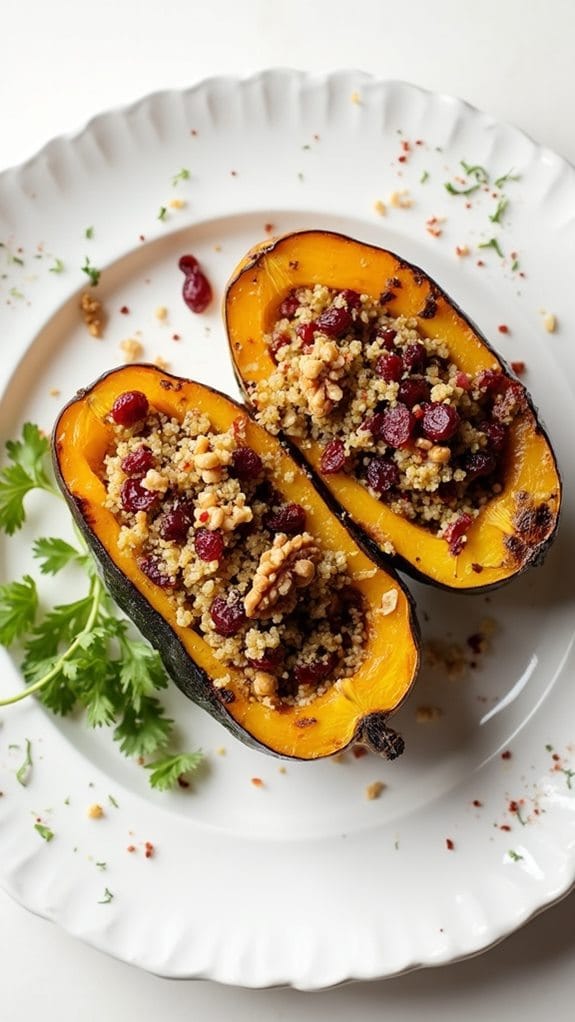
Title: Stuffed Acorn Squash
Prep Time: 15 minutes
Cook Time: 45 minutes
Number of Servings: 4
Required Equipment List: Baking dish, knife, spoon, mixing bowl, oven
Cuisine Type: American
Stuffed acorn squash is a delightful and nutritious dish that brings a burst of flavors and colors to your Thanksgiving table. This recipe features roasted acorn squash halves filled with a savory mixture of quinoa, cranberries, nuts, and spices, making it a perfect vegetarian option for small families.
The natural sweetness of the squash pairs beautifully with the earthy quinoa and the tartness of the cranberries, creating a harmonious balance that will satisfy everyone at the dinner table. Not only is this dish visually appealing, but it’s also packed with nutrients, making it a healthy choice for your holiday feast.
The preparation is simple and can be done ahead of time, allowing you to enjoy more time with your loved ones. Serve these stuffed acorn squashes as a main dish or as a side, and watch as they become the star of your Thanksgiving meal.
Ingredients:
- 2 medium acorn squash
- 1 cup cooked quinoa
- 1/2 cup dried cranberries
- 1/2 cup walnuts, chopped
- 1 teaspoon ground cinnamon
- 1/2 teaspoon nutmeg
- Salt and pepper to taste
- 1 tablespoon olive oil
- Fresh parsley for garnish (optional)
Instructions:
- Preheat your oven to 400°F (200°C). Cut the acorn squash in half lengthwise and scoop out the seeds and stringy insides using a spoon. Place the squash halves cut-side up in a baking dish.
- Drizzle the inside of each acorn squash half with olive oil and sprinkle with salt and pepper. Roast the squash in the preheated oven for about 30-35 minutes, or until the flesh is tender when pierced with a fork.
- While the squash is roasting, prepare the stuffing mixture. In a mixing bowl, combine the cooked quinoa, dried cranberries, chopped walnuts, ground cinnamon, nutmeg, and a pinch of salt and pepper. Mix well until all the ingredients are evenly distributed.
- Once the squash is tender, remove it from the oven and carefully fill each half with the quinoa mixture, pressing it down gently to pack it in. Return the stuffed squash to the oven and bake for an additional 10-15 minutes to allow the flavors to meld.
- Remove the stuffed acorn squash from the oven and let them cool slightly before serving. Garnish with fresh parsley if desired, and serve warm.
Extra Tips: To add even more flavor to the stuffing, consider sautéing some chopped onions and garlic in olive oil before mixing them into the quinoa. You can also substitute the walnuts with pecans or almonds for a different nutty flavor.
If you prefer a bit of cheese, sprinkle some feta or goat cheese on top of the stuffing before the final bake for a creamy touch. Enjoy this hearty dish as part of your Thanksgiving spread!
Garlic Mashed Potatoes
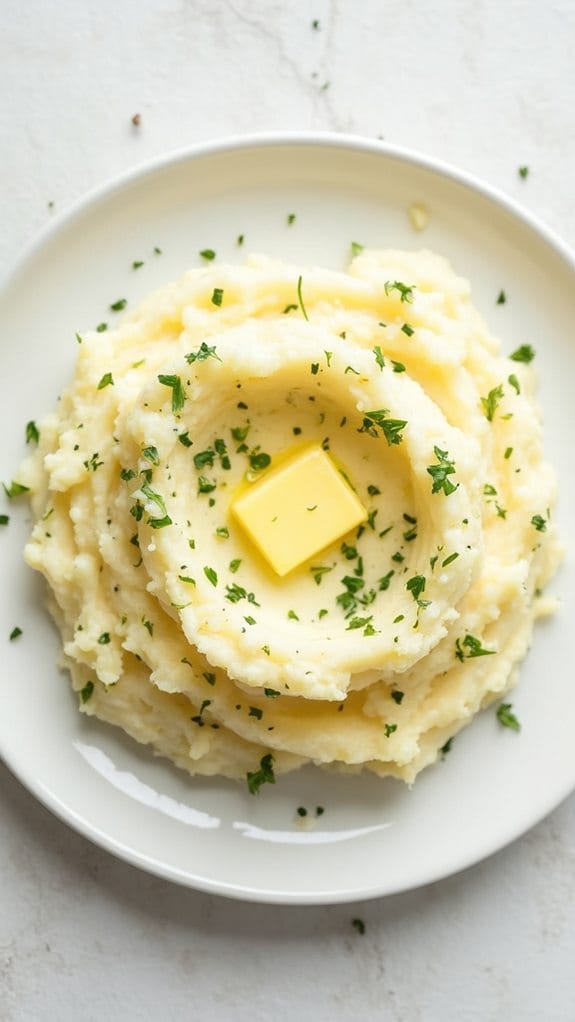
Title: Garlic Mashed Potatoes
Prep Time: 15 minutes
Cook Time: 20 minutes
Number of Servings: 4
Required Equipment List: Large pot, potato masher, colander, mixing bowl, garlic press, stove
Cuisine Type: American
Garlic Mashed Potatoes are a comforting and creamy side dish that brings warmth to any Thanksgiving table, especially for small families. This recipe combines the classic taste of fluffy mashed potatoes with the robust flavor of garlic, creating a rich and savory dish that pairs perfectly with turkey, gravy, or any holiday meal.
The addition of butter and cream gives these potatoes a luxurious texture, making them irresistible. This dish isn’t only easy to prepare but also allows for flexibility in flavor. You can adjust the amount of garlic to suit your taste, or even add herbs like chives or parsley for a fresh finish.
Whether you’re celebrating a holiday or simply enjoying a family dinner, Garlic Mashed Potatoes will surely become a favorite that everyone will look forward to.
Ingredients:
- 2 pounds russet potatoes, peeled and cubed
- 4 cloves garlic, minced
- 1/2 cup milk
- 1/4 cup unsalted butter
- Salt and pepper to taste
- Fresh parsley for garnish (optional)
Instructions:
- Begin by placing the peeled and cubed potatoes in a large pot and covering them with cold water. Add a generous pinch of salt to the water, then bring it to a boil over medium-high heat. Cook the potatoes for about 15 minutes, or until they’re tender and easily pierced with a fork.
- While the potatoes are cooking, melt the butter in a small saucepan over low heat. Add the minced garlic and sauté for about 2-3 minutes until fragrant, but be careful not to brown the garlic.
- Once the potatoes are cooked, drain them in a colander and return them to the pot. Using a potato masher, begin mashing the potatoes to your desired consistency.
- Slowly add the melted garlic butter to the mashed potatoes, followed by the milk. Continue to mash until the mixture is creamy and smooth. Season with salt and pepper to taste, adjusting the flavors to your preference.
- Transfer the Garlic Mashed Potatoes to a serving bowl and garnish with freshly chopped parsley, if desired. Serve warm alongside your favorite holiday dishes.
Extra Tips: For a richer flavor, consider using half-and-half or sour cream instead of milk. If you prefer a chunkier texture, mash the potatoes less thoroughly. You can also experiment with roasted garlic for a sweeter, more mellow garlic flavor.
These mashed potatoes can be made ahead of time and reheated in the oven before serving to save you time on the big day. Enjoy your delicious side dish!
Cranberry Sauce With Orange
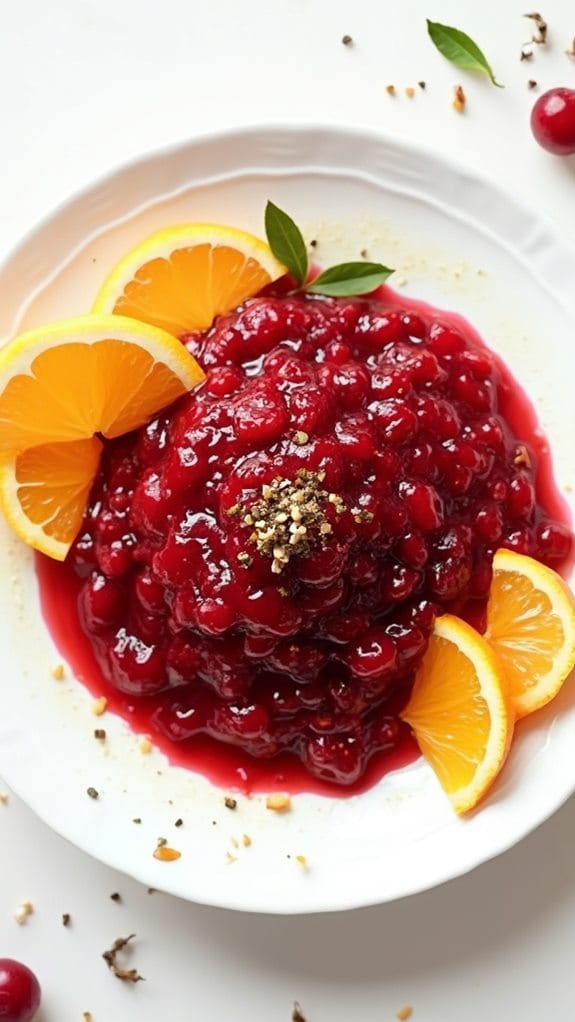
Title: Cranberry Sauce With Orange
Prep Time: 10 minutes
Cook Time: 15 minutes
Number of Servings: 4
Required Equipment List: Medium saucepan, measuring cups, wooden spoon, zester
Cuisine Type: American
Cranberry Sauce With Orange is a revitalizing twist on the classic holiday condiment, bringing a burst of citrus flavor that perfectly complements the tartness of fresh cranberries. The addition of orange zest and juice elevates the sauce, creating a delightful balance that pairs beautifully with turkey, ham, or even as a topping for desserts.
This quick and easy recipe is a must-have for your Thanksgiving table, ensuring that your small family can enjoy a vibrant and flavorful side dish without too much fuss. This recipe isn’t only simple to make but also allows for flexibility with ingredients. You can adjust the sweetness by adding more or less sugar to suit your taste.
Additionally, the bright orange flavor can be complemented with spices such as cinnamon or nutmeg, making it versatile for various holiday meals. Serve it warm or chilled; either way, your cranberry sauce will be a hit!
Ingredients:
- 12 ounces fresh cranberries
- 1 cup granulated sugar
- 1 cup water
- Zest of 1 orange
- 1/2 cup freshly squeezed orange juice
- Pinch of salt
Instructions:
- In a medium saucepan, combine the fresh cranberries, granulated sugar, and water. Place the saucepan over medium heat and stir until the sugar has dissolved and the mixture begins to simmer.
- Add the orange zest, orange juice, and a pinch of salt to the saucepan. Stir to combine, ensuring that the cranberries are well-coated with the liquid.
- Allow the mixture to simmer for about 10 minutes, stirring occasionally. You’ll notice the cranberries begin to burst and release their juices, thickening the sauce as it cooks.
- Once the sauce has reached your desired consistency, remove the saucepan from heat. Let the cranberry sauce cool slightly before transferring it to a serving dish or airtight container.
- Refrigerate the sauce if serving it cold; otherwise, you can serve it warm alongside your main dishes.
Extra Tips: For an extra layer of flavor, consider adding a cinnamon stick while the sauce simmers and remove it before serving. You can also experiment by mixing in chopped nuts or dried fruits like raisins or apricots for added texture.
This cranberry sauce can be made ahead of time, allowing the flavors to meld together beautifully, making your holiday preparations even easier!
Green Bean Almondine
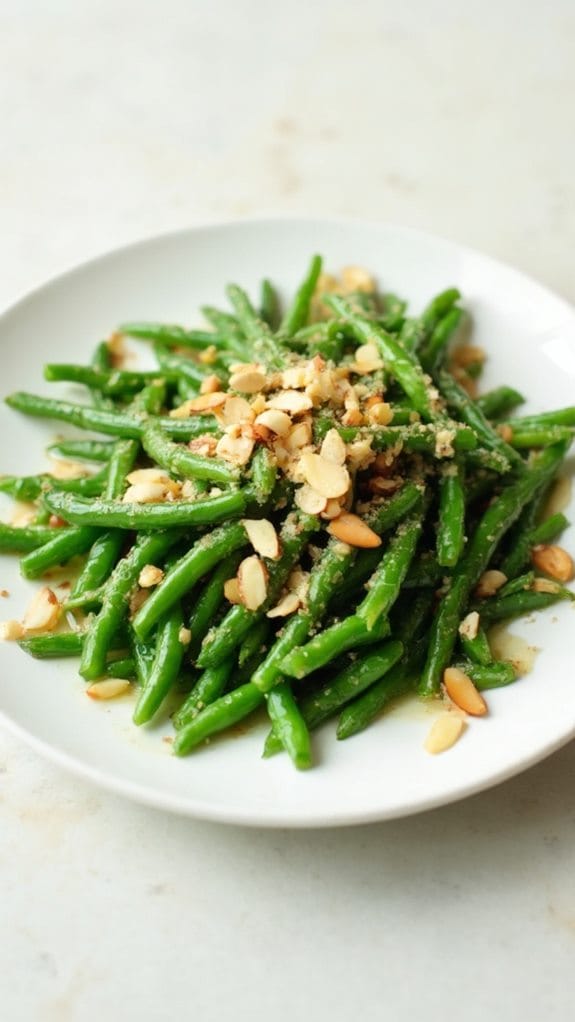
Title: Green Bean Almondine
Prep Time: 10 minutes
Cook Time: 15 minutes
Number of Servings: 4
Required Equipment List: Skillet, slotted spoon, serving dish
Cuisine Type: American
Green Bean Almondine is a classic side dish that perfectly balances the freshness of green beans with the nutty flavor of toasted almonds. This dish isn’t only visually appealing with its vibrant green colors but also brings a delightful crunch and richness that complements any main course, making it a fantastic addition to your holiday table or any family meal.
The simplicity of this recipe allows the natural flavors of the ingredients to shine, making it a favorite among both home cooks and food enthusiasts. Cooking green beans until they’re tender yet still crisp, then tossing them with almonds sautéed in butter, creates a harmony of textures and flavors. A touch of lemon juice adds brightness, making this dish invigorating and light.
Ideal for small families, this recipe can be easily scaled and is sure to please even the pickiest eaters, offering a nutritious and delicious side that can be prepared in no time.
Ingredients:
- 1 pound fresh green beans, trimmed
- 1/4 cup sliced almonds
- 2 tablespoons unsalted butter
- 1 tablespoon lemon juice
- Salt and pepper to taste
Instructions:
- Begin by bringing a large pot of salted water to a boil. Once boiling, add the trimmed green beans and cook for about 3-4 minutes, or until they’re bright green and just tender. Be careful not to overcook them to maintain their crispness.
- While the green beans are cooking, prepare an ice bath by filling a large bowl with ice water. Once the green beans are cooked, immediately transfer them to the ice bath using a slotted spoon to halt the cooking process and preserve their vibrant color.
- In a skillet, melt the unsalted butter over medium heat. Once melted, add the sliced almonds and sauté for about 3-4 minutes, stirring frequently until they’re golden brown and fragrant. Keep a close eye on them to prevent burning.
- Drain the green beans from the ice bath and pat them dry with a paper towel. Add the green beans to the skillet with the toasted almonds, tossing to coat them in the buttery almond mixture. Season with salt and pepper to taste.
- Finally, drizzle the lemon juice over the green beans and give them one last toss to combine all the flavors. Remove from heat and transfer to a serving dish, ready to be enjoyed.
Extra Tips: To enhance the flavor further, consider adding minced garlic to the skillet when toasting the almonds for an aromatic twist. This dish can be made ahead of time; simply reheat the green beans in a skillet before serving. For a different flavor profile, you can also substitute the almonds with walnuts or pecans, depending on your preference. Enjoy this simple yet elegant side dish at your next family gathering or holiday meal!
Cornbread Dressing
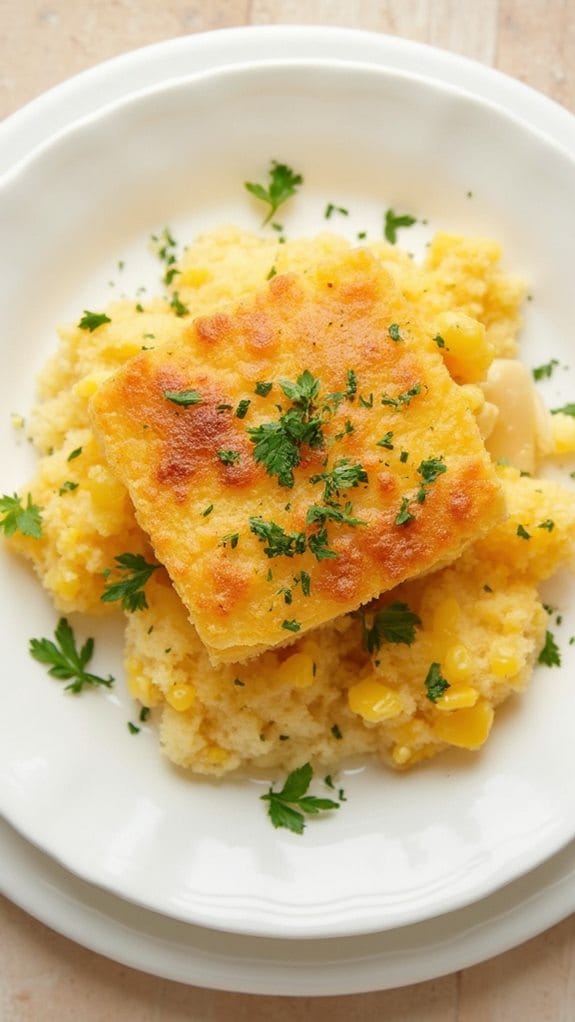
Title: Cornbread Dressing
Prep Time: 20 minutes
Cook Time: 30 minutes
Number of Servings: 4
Required Equipment List: Large mixing bowl, baking dish, oven, whisk, spatula
Cuisine Type: Southern-American
Cornbread Dressing is a cherished staple of Southern cooking, especially during holidays like Thanksgiving. This dish combines the rich, buttery flavor of cornbread with aromatic herbs and savory vegetables, making it a comforting and satisfying side dish. Perfectly seasoned and baked until golden brown, cornbread dressing is an excellent complement to turkey or any roasted meat, bringing warmth and nostalgia to the dinner table.
This recipe isn’t only easy to prepare, but it also allows for customization based on personal preferences. You can incorporate additional ingredients such as sausage, nuts, or dried fruits to make it even more special. Whether you’re celebrating a small family gathering or looking to create a delicious side for your holiday feast, this cornbread dressing is sure to become a favorite in your household.
Ingredients:
- 4 cups crumbled cornbread (store-bought or homemade)
- 1 cup chopped onion
- 1 cup chopped celery
- 2 cups chicken or vegetable broth
- 1 teaspoon dried sage
- 1 teaspoon dried thyme
- 1/2 teaspoon salt
- 1/2 teaspoon black pepper
- 2 large eggs, beaten
- 1/4 cup unsalted butter, melted
Instructions:
- Preheat your oven to 350°F (175°C). Grease a baking dish with butter or cooking spray to prevent sticking. This will guarantee that your cornbread dressing comes out easily and maintains its shape when serving.
- In a large mixing bowl, combine the crumbled cornbread, chopped onion, and chopped celery. Stir until the vegetables are evenly distributed throughout the cornbread, adding flavor and texture to the dressing.
- In a separate bowl, whisk together the chicken or vegetable broth, dried sage, dried thyme, salt, black pepper, and beaten eggs. This mixture will help to bind the dressing together and infuse it with aromatic herbs.
- Pour the broth mixture over the cornbread and vegetable mixture. Add the melted butter and gently fold everything together using a spatula until all the ingredients are well combined and moistened.
- Transfer the mixture into the prepared baking dish, spreading it out evenly. Bake in the preheated oven for 30 minutes or until the top is golden brown and crispy. To check for doneness, insert a toothpick in the center; it should come out clean.
- Once baked, remove the dressing from the oven and let it cool for a few minutes before serving. This will allow the flavors to meld together and make it easier to scoop out portions.
Extra Tips: To enhance the flavor of your cornbread dressing, consider adding corn, chopped fresh herbs like parsley or rosemary, or even sautéing the onions and celery in the melted butter before mixing them with the cornbread. You can also substitute half of the broth with white wine for a richer taste. Make sure to taste and adjust the seasoning as needed; every cornbread can vary in flavor, and you want to verify it suits your preference!
Honey-Glazed Carrots

Title: Honey-Glazed Carrots
Prep Time: 10 minutes
Cook Time: 15 minutes
Number of Servings: 4
Required Equipment List: Skillet, measuring spoons, spatula, knife, cutting board
Cuisine Type: American
Honey-Glazed Carrots are a delightful and simple side dish that adds a touch of sweetness and elegance to any meal. The natural sweetness of the carrots is enhanced by honey and butter, creating a glossy, irresistible glaze that will have everyone asking for seconds.
This dish isn’t only visually appealing but also packed with nutrients, making it a perfect addition to your Thanksgiving table or any family dinner. Using fresh, vibrant carrots, this recipe elevates a humble vegetable into a delectable treat.
The combination of honey, butter, and a hint of thyme provides a balanced flavor that pairs well with a variety of main courses, from roasted turkey to grilled chicken. With just a handful of ingredients and minimal prep time, these honey-glazed carrots are a convenient and delicious way to brighten up your meal.
Ingredients:
- 1 pound fresh carrots, peeled and sliced into rounds
- 2 tablespoons unsalted butter
- 2 tablespoons honey
- 1/2 teaspoon salt
- 1/4 teaspoon black pepper
- 1/2 teaspoon dried thyme (optional)
- Fresh parsley for garnish (optional)
Instructions:
- Begin by peeling the carrots and slicing them into even rounds, about 1/4 inch thick. This will guarantee that the carrots cook evenly and are tender when served.
- In a large skillet, melt the butter over medium heat. Once melted, add the sliced carrots to the skillet, stirring to coat them in the butter.
- Drizzle the honey over the carrots, followed by the salt, black pepper, and thyme if using. Stir the mixture again to confirm all the carrots are evenly coated with the glaze.
- Increase the heat to medium-high and cook the carrots for about 8-10 minutes, stirring occasionally. You want the carrots to be tender but still slightly crisp, and the glaze should thicken and become syrupy.
- Once the carrots are cooked to your liking, remove the skillet from heat. Transfer the honey-glazed carrots to a serving dish and garnish with fresh parsley if desired. Serve warm alongside your favorite main dishes.
Extra Tips: For added depth of flavor, consider adding a splash of orange juice or a sprinkle of orange zest to the glaze. This will enhance the sweetness of the carrots and provide a revitalizing citrus note.
Additionally, if you’re looking to reduce the sweetness, you can use maple syrup in place of honey or reduce the amount used. These carrots can also be prepared ahead of time and reheated just before serving, making them a great option for meal prep. Enjoy!
Sweet Potato Casserole
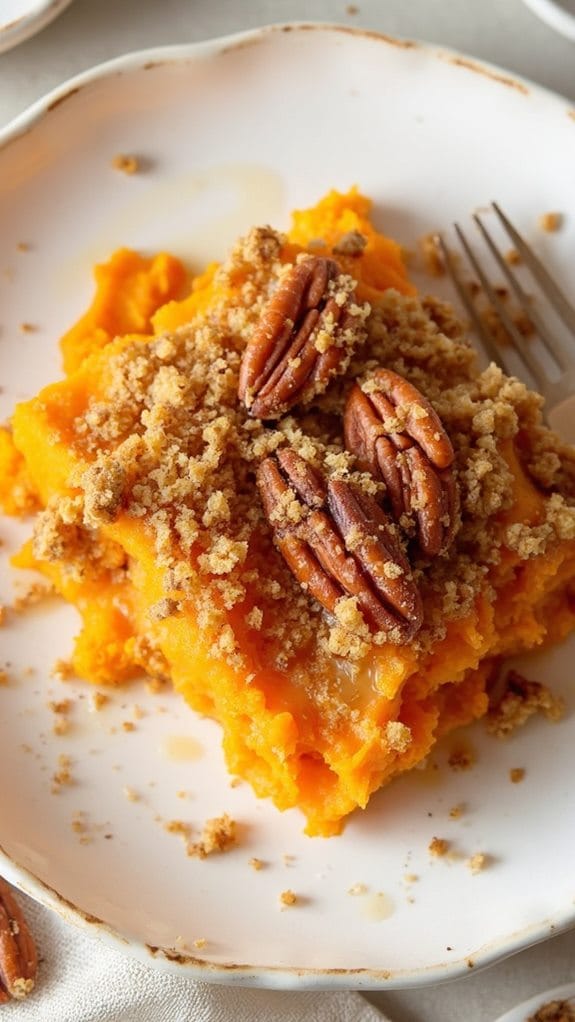
Title: Sweet Potato Casserole
Prep Time: 15 minutes
Cook Time: 30 minutes
Number of Servings: 4
Required Equipment List: Baking dish, mixing bowl, oven, whisk, fork
Cuisine Type: American
Sweet Potato Casserole is a classic dish that brings warmth and comfort to any Thanksgiving table, especially for small families. This recipe features creamy mashed sweet potatoes topped with a crunchy pecan and brown sugar streusel, creating a delightful contrast in textures and flavors.
It’s a perfect side dish that not only complements the holiday turkey but also serves as a delicious vegetarian option that everyone will love. This casserole is easy to prepare and can be made ahead of time, allowing you to enjoy more time with your family during the holidays.
The natural sweetness of the sweet potatoes pairs beautifully with the buttery topping, making this dish a crowd-pleaser. Whether it’s for Thanksgiving or a cozy family dinner, Sweet Potato Casserole is a delightful addition to any meal.
Ingredients:
- 2 large sweet potatoes, peeled and cubed
- 1/4 cup milk
- 1/4 cup brown sugar
- 1/4 cup butter, melted
- 1 teaspoon vanilla extract
- 1/2 teaspoon cinnamon
- Salt to taste
- 1 cup pecans, chopped
- 1/4 cup flour
- 1/4 cup sugar
Instructions:
- Preheat your oven to 350°F (175°C). Begin by peeling and cubing the sweet potatoes. Place them in a large pot of boiling water and cook until tender, about 15-20 minutes. Drain and transfer the sweet potatoes to a mixing bowl.
- In the bowl, mash the sweet potatoes using a fork or a potato masher until smooth. Stir in the milk, brown sugar, melted butter, vanilla extract, cinnamon, and a pinch of salt until well combined and creamy.
- Transfer the sweet potato mixture into a greased baking dish, spreading it evenly.
- In a separate bowl, combine the chopped pecans, flour, sugar, and melted butter to create the topping. Mix until the pecans are well-coated and crumbly.
- Sprinkle the pecan topping evenly over the sweet potato mixture. Bake in the preheated oven for 25-30 minutes, or until the topping is golden brown and the casserole is heated through.
- Once baked, remove the casserole from the oven and allow it to cool slightly before serving. This will help the flavors meld together beautifully.
Extra Tips: For an added layer of flavor, consider mixing in some maple syrup along with the brown sugar for a richer sweetness. If you want a little extra spice, you can add a pinch of nutmeg or ginger to the sweet potato mixture.
Leftover casserole can be stored in the refrigerator for a few days and reheated in the oven or microwave. Enjoy this sweet and savory dish with your loved ones!
Creamy Mushroom Soup
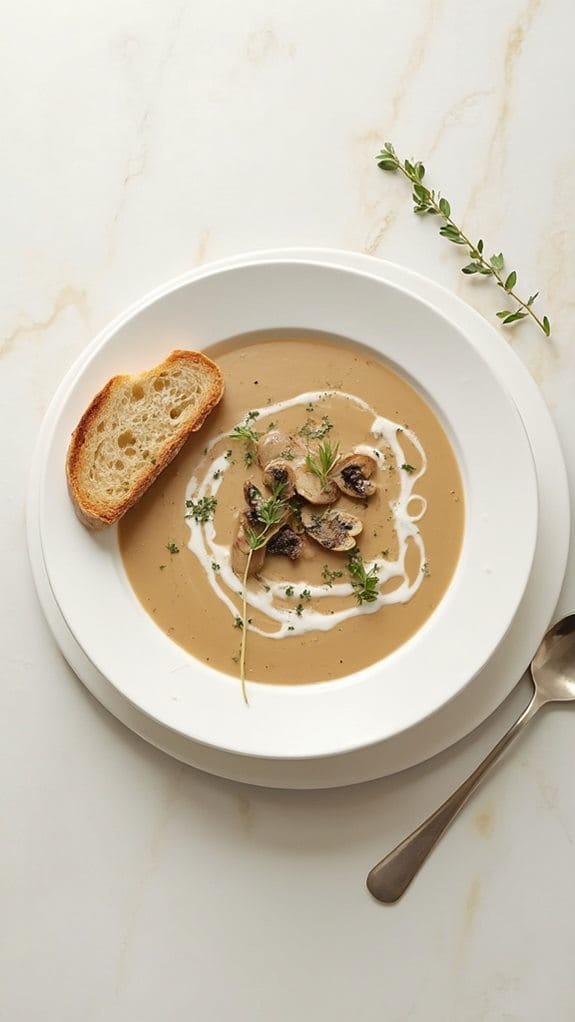
Title: Creamy Mushroom Soup
Prep Time: 15 minutes
Cook Time: 30 minutes
Number of Servings: 4
Required Equipment List: Large pot, cutting board, knife, measuring cups, measuring spoons, immersion blender (or regular blender)
Cuisine Type: American
Creamy Mushroom Soup is a warm and comforting dish that’s perfect for chilly days or a cozy family meal. This soup is rich and velvety, combining the earthy flavors of fresh mushrooms with the creaminess of dairy, creating a satisfying bowl that’s both hearty and wholesome.
The aroma of sautéed onions and garlic mingling with the mushrooms is sure to draw everyone to the kitchen, enthusiastic to dig in. This recipe isn’t only simple to prepare but also versatile, allowing you to use a variety of mushrooms based on what you have on hand or your personal preferences.
Adding a splash of white wine can elevate the flavor profile, while fresh herbs like thyme or parsley bring a rejuvenating brightness to the dish. This creamy mushroom soup pairs perfectly with crusty bread or a fresh salad for a complete meal.
Ingredients:
- 1 tablespoon olive oil
- 1 medium onion, chopped
- 2 cloves garlic, minced
- 16 ounces fresh mushrooms, sliced (such as cremini or button)
- 4 cups vegetable or chicken broth
- 1 cup heavy cream (or coconut milk for a dairy-free option)
- Salt and pepper to taste
- Fresh thyme or parsley for garnish (optional)
Instructions:
- In a large pot, heat the olive oil over medium heat. Add the chopped onion and sauté for about 5 minutes until translucent. Then, add the minced garlic and cook for another 1-2 minutes until fragrant, being careful not to let it burn.
- Add the sliced mushrooms to the pot and cook for 8-10 minutes, stirring occasionally until the mushrooms are browned and have released their moisture. Season with salt and pepper to taste.
- Pour in the vegetable or chicken broth, bringing the mixture to a boil. Once boiling, reduce the heat and let it simmer for about 15 minutes. This will allow the flavors to meld beautifully.
- After simmering, use an immersion blender to puree the soup until smooth. If you don’t have an immersion blender, carefully transfer the soup in batches to a regular blender to blend until creamy.
- Return the pureed soup to the pot and stir in the heavy cream (or coconut milk). Warm the soup gently over low heat, making sure not to boil it, and adjust the seasoning with additional salt and pepper as needed.
- Serve the creamy mushroom soup hot, garnished with fresh thyme or parsley if desired. Pair with crusty bread or your favorite salad for a complete meal.
Extra Tips: For added depth of flavor, consider using a mix of mushrooms, such as shiitake or portobello, in addition to the standard varieties. If you like a bit of spice, a pinch of red pepper flakes can give the soup a nice kick.
This soup can be made ahead of time and stored in the refrigerator for up to three days or frozen for later use. Reheat on the stovetop and add a splash of cream to revitalize the texture before serving. Enjoy this comforting dish!
Spinach and Feta Salad
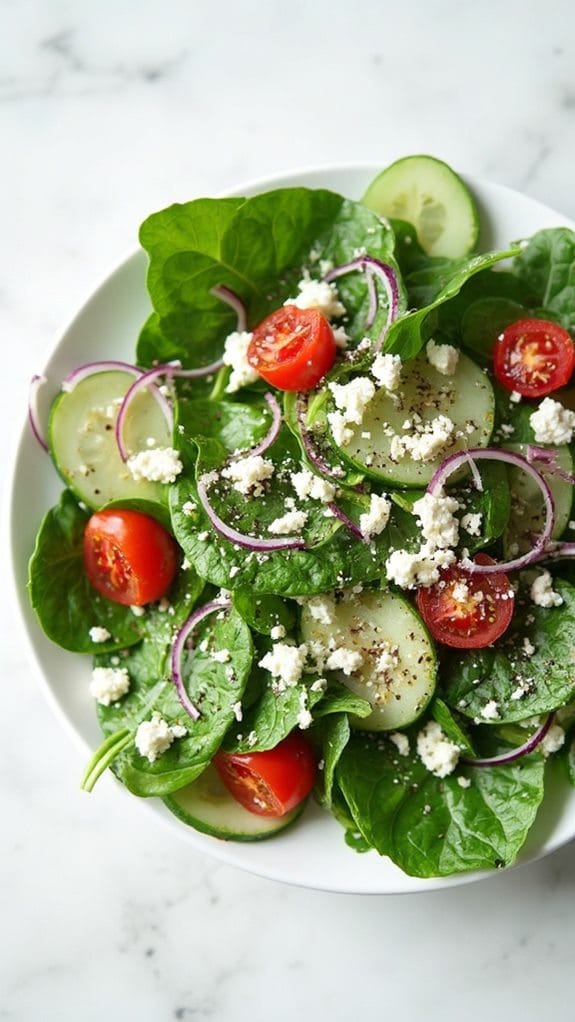
Title: Spinach and Feta Salad
Prep Time: 10 minutes
Cook Time: 0 minutes
Number of Servings: 2
Required Equipment List: Mixing bowl, whisk, knife, cutting board
Cuisine Type: Mediterranean
The Spinach and Feta Salad is a crisp and vibrant dish that perfectly balances the earthiness of spinach with the tanginess of feta cheese. This salad isn’t only quick to prepare but also packed with nutrients, making it an ideal choice for a light lunch or a revitalizing side dish for your Thanksgiving meal.
The crispness of the spinach combined with the creamy feta and the zesty dressing creates a delightful flavor experience that will leave you feeling satisfied. In addition to being delicious, this salad is highly customizable. You can add other ingredients such as cherry tomatoes, cucumber, or toasted nuts to enhance the texture and taste.
With its bright colors and fresh ingredients, this Spinach and Feta Salad isn’t only appealing to the eye but also a nutritious addition to your holiday table, guaranteeing that even smaller gatherings can enjoy a healthy and flavorful option.
Ingredients:
- 4 cups fresh spinach, washed and dried
- 1/2 cup feta cheese, crumbled
- 1/4 cup red onion, thinly sliced
- 1/4 cup olive oil
- 2 tablespoons red wine vinegar
- 1 teaspoon Dijon mustard
- Salt and pepper to taste
- Optional: cherry tomatoes, sliced cucumbers, or toasted nuts
Instructions:
- In a large mixing bowl, add the fresh spinach. Confirm that the spinach is thoroughly washed and dried to remove excess moisture, which can make the salad soggy.
- Sprinkle the crumbled feta cheese and thinly sliced red onion over the spinach. If adding optional ingredients like cherry tomatoes or cucumbers, toss them in at this stage for added flavor and crunch.
- In a small bowl, whisk together the olive oil, red wine vinegar, Dijon mustard, salt, and pepper. This simple dressing brings a tangy, zesty flavor that complements the salad perfectly.
- Drizzle the dressing over the spinach salad just before serving. Gently toss the salad with salad tongs or two forks to guarantee an even coating of the dressing without bruising the spinach.
- Taste the salad and adjust the seasoning if necessary, adding more salt, pepper, or vinegar according to your preference. Serve immediately for the freshest taste.
Extra Tips: For added texture and flavor, consider toasting some nuts, such as walnuts or almonds, and sprinkling them on top before serving. This salad can also be made ahead of time by preparing the dressing separately and adding it just before serving to keep the spinach crisp.
Feel free to experiment with different types of cheese, such as goat cheese or blue cheese, for a delicious twist on this classic salad. Enjoy!
Maple-Glazed Brussels Sprouts
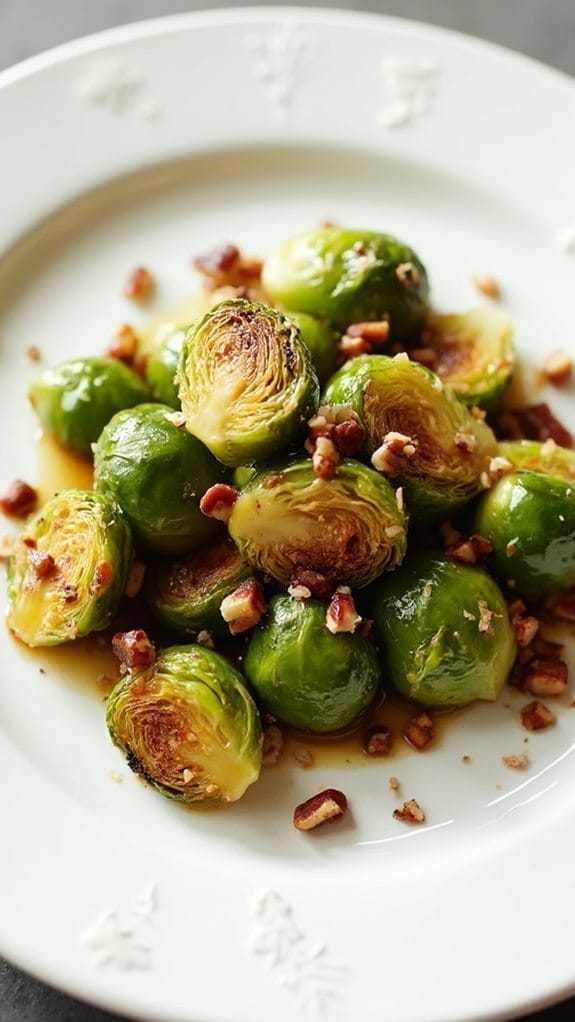
Title: Maple-Glazed Brussels Sprouts
Prep Time: 10 minutes
Cook Time: 20 minutes
Number of Servings: 4
Required Equipment List: Baking sheet, mixing bowl, oven, spatula
Cuisine Type: American
Maple-Glazed Brussels Sprouts are a delicious and festive side dish that bring a touch of sweetness to your Thanksgiving table. The combination of roasted Brussels sprouts with a maple syrup glaze creates a dish that’s both savory and slightly sweet, making it appealing to a wide range of palates.
This recipe is perfect for small families looking to enjoy a flavorful vegetable dish without a lot of fuss. Roasting the Brussels sprouts enhances their natural flavors, while the maple glaze adds a delightful caramelized finish. This dish not only pairs well with turkey and stuffing but also stands out on its own as a vegetarian option.
In just 30 minutes, you can have a beautiful and tasty side dish that will impress your guests and satisfy your family’s cravings for seasonal flavors.
Ingredients:
- 1 pound Brussels sprouts, trimmed and halved
- 2 tablespoons olive oil
- 1/4 cup maple syrup
- Salt and pepper to taste
- 1/4 teaspoon red pepper flakes (optional)
- 1/4 cup chopped pecans (optional)
Instructions:
- Preheat your oven to 400°F (200°C). Line a baking sheet with parchment paper for easy cleanup and to help the Brussels sprouts roast evenly.
- In a mixing bowl, combine the halved Brussels sprouts with olive oil, maple syrup, salt, and pepper. Toss until the Brussels sprouts are well coated in the oil and syrup mixture.
- Spread the coated Brussels sprouts in a single layer on the prepared baking sheet, ensuring they aren’t overcrowded. This will help them roast properly and become crispy.
- Roast in the preheated oven for about 20 minutes, stirring halfway through. The Brussels sprouts should be tender and caramelized on the edges when finished.
- If using, sprinkle the chopped pecans and red pepper flakes over the Brussels sprouts during the last 5 minutes of roasting for added crunch and flavor.
- Once done, remove from the oven and transfer to a serving dish. You can drizzle a little extra maple syrup on top for a finishing touch before serving.
Extra Tips: For a deeper flavor, consider adding minced garlic or balsamic vinegar to the Brussels sprouts before roasting. You can also experiment with different nuts, such as walnuts or almonds, to achieve a unique texture and taste.
If you prefer a more savory note, a sprinkle of Parmesan cheese just before serving can add a deliciously rich flavor to this dish. Enjoy your flavorful creation!
Individual Chicken Pot Pies

Title: Individual Chicken Pot Pies
Prep Time: 20 minutes
Cook Time: 30 minutes
Number of Servings: 4
Required Equipment List: Oven, baking sheet, mixing bowl, rolling pin, ramekins or small pie dishes
Cuisine Type: American
Individual Chicken Pot Pies are the perfect comfort food, especially for small families looking for a warm and hearty meal. These individual servings are loaded with tender chicken, vibrant vegetables, and a creamy sauce, all encased in a golden, flaky crust. Not only are they satisfying, but they also bring a sense of nostalgia, reminiscent of home-cooked meals.
Each person gets their own pie, making it a fun and personal dining experience. This recipe is wonderfully adaptable, allowing you to use leftover chicken or turkey from another meal, and you can easily incorporate seasonal vegetables or even swap out the protein to suit your taste.
With a simple mixture of ingredients and a quick assembly, these pot pies can be on your table in no time, bringing warmth and joy to your family gatherings.
Ingredients:
- 2 cups cooked chicken, shredded
- 1 cup frozen mixed vegetables (peas, carrots, corn)
- 1/2 cup onion, diced
- 1/2 cup celery, diced
- 1/4 cup butter
- 1/4 cup all-purpose flour
- 2 cups chicken broth
- 1/2 cup milk
- 1 teaspoon garlic powder
- 1 teaspoon dried thyme
- Salt and pepper to taste
- 1 package refrigerated pie crusts (2 crusts)
- 1 egg (for egg wash)
Instructions:
- Preheat your oven to 425°F (220°C). Prepare your ramekins or small pie dishes by placing them on a baking sheet to catch any drips during baking.
- In a large skillet over medium heat, melt the butter. Add the diced onion and celery, and sauté until the vegetables are tender, about 5 minutes. Stir in the garlic powder, thyme, salt, and pepper.
- Sprinkle the flour over the sautéed vegetables and stir to combine, cooking for an additional minute. Gradually whisk in the chicken broth and milk, stirring constantly until the mixture thickens, about 3-5 minutes.
- Add the shredded chicken and frozen mixed vegetables to the skillet, mixing well to combine. Remove from heat and let the filling cool slightly while you prepare the crust.
- Roll out the pie crusts on a lightly floured surface. Cut out circles large enough to cover the tops of your ramekins, plus a little overhang for sealing. Spoon the chicken filling into each ramekin, then place the crust over the top, sealing the edges by crimping with a fork.
- Brush the tops of the crusts with beaten egg for a golden finish. Cut a few small slits in the top of each pie to allow steam to escape. Bake in the preheated oven for 25-30 minutes, or until the crust is golden brown and the filling is bubbly.
Extra Tips: For added richness, consider using half-and-half instead of milk in the filling. You can also customize the vegetable mixture based on what you have on hand or prefer; diced potatoes or mushrooms work well too.
If you want to prep ahead, you can assemble the pot pies and store them in the fridge for a day or two before baking. Enjoy your delightful individual chicken pot pies!
Pumpkin Risotto
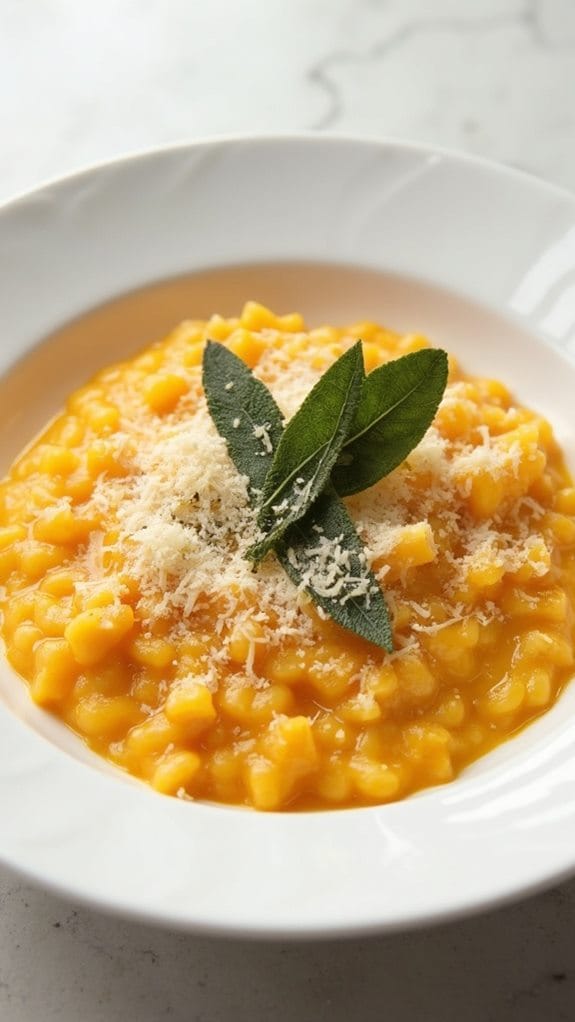
Title: Pumpkin Risotto
Prep Time: 10 minutes
Cook Time: 30 minutes
Number of Servings: 4
Required Equipment List: Medium saucepan, wooden spoon, measuring cups, ladle, serving bowls
Cuisine Type: Italian-American
Pumpkin Risotto is a comforting and creamy dish that perfectly embodies the essence of fall. This risotto features the sweet and earthy flavors of pumpkin, combined with the richness of Arborio rice and a hint of Parmesan cheese. It’s a warm, satisfying meal that can be enjoyed on its own or as a side dish for your Thanksgiving feast.
The creamy texture and vibrant color make it a standout dish that’s sure to impress your guests and family alike. Making risotto may seem intimidating, but this recipe simplifies the process to guarantee a delicious outcome without requiring constant attention. The gradual addition of broth allows the rice to absorb the flavors while creating that signature creamy consistency.
Plus, the addition of fresh herbs and spices elevates this dish, making it a perfect accompaniment to your holiday table or a cozy dinner any night of the week.
Ingredients:
- 1 cup Arborio rice
- 2 cups pumpkin puree (canned or fresh)
- 4 cups vegetable broth
- 1 small onion, finely chopped
- 2 cloves garlic, minced
- 1/2 cup white wine (optional)
- 1/2 cup grated Parmesan cheese
- 2 tablespoons olive oil
- Salt and pepper to taste
- Fresh sage leaves for garnish (optional)
Instructions:
- In a medium saucepan, heat the vegetable broth over low heat. Keep it warm but not boiling, as you’ll gradually add it to the rice.
- In another medium saucepan, heat the olive oil over medium heat. Add the chopped onion and sauté until translucent, about 3-4 minutes. Then, add the minced garlic and sauté for an additional minute until fragrant.
- Stir in the Arborio rice, allowing it to toast for about 2 minutes while continuously stirring. This step enhances the nutty flavor of the rice.
- If using, pour in the white wine and stir until it’s mostly absorbed by the rice. This adds depth of flavor to the risotto.
- Gradually add the warm vegetable broth, one ladle at a time, stirring frequently. Allow the rice to absorb the liquid before adding more. Continue this process for about 20 minutes, or until the rice is creamy and al dente.
- Once the rice is cooked, stir in the pumpkin puree and grated Parmesan cheese. Mix well until the risotto is creamy and heated through. Season with salt and pepper to taste.
- Serve the risotto warm, garnished with fresh sage leaves if desired, and enjoy the comforting flavors of your homemade pumpkin risotto.
Extra Tips: For an even richer flavor, try adding a pinch of nutmeg or cinnamon to the risotto while cooking. You can also top the risotto with toasted pumpkin seeds for added texture and a nutty crunch.
If you want to make it a complete meal, consider pairing it with roasted vegetables or a simple salad on the side. Enjoy your delicious creation!
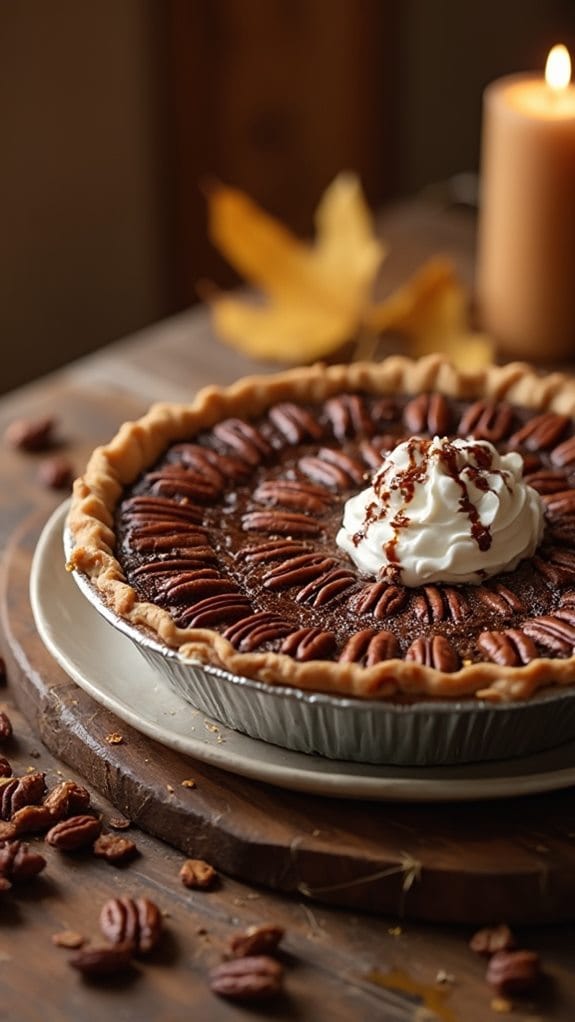
Chocolate Pecan Pie
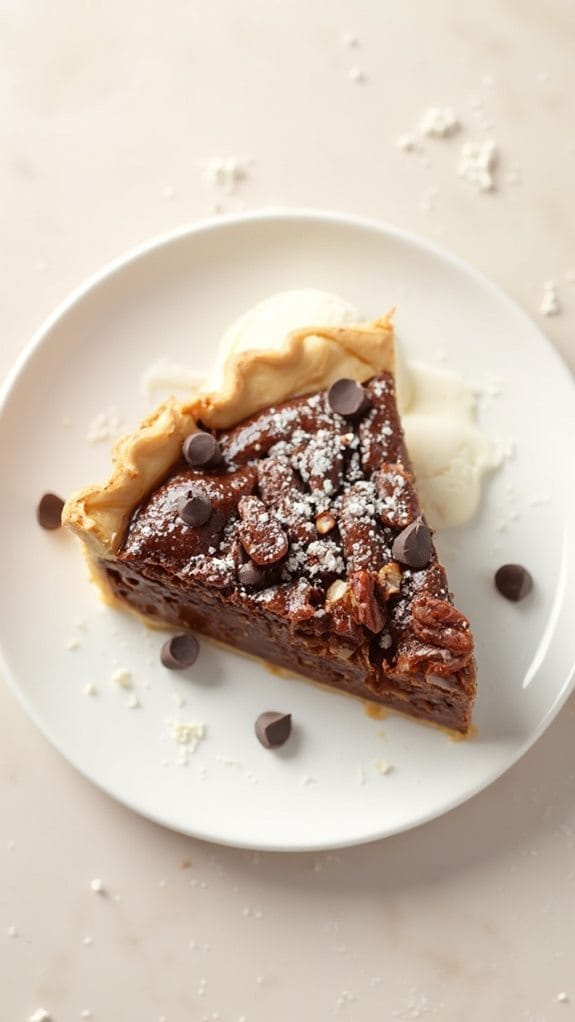
Title: Chocolate Pecan Pie
Prep Time: 15 minutes
Cook Time: 60 minutes
Number of Servings: 6
Required Equipment List: 9-inch pie dish, mixing bowl, whisk, measuring cups, measuring spoons, oven
Cuisine Type: American
Chocolate Pecan Pie is a delightful dessert that combines the rich, nutty flavors of pecans with the sweetness of chocolate, creating a heavenly finish to any meal. This recipe is perfect for small families, providing just the right amount of indulgence without overwhelming your table.
With its buttery crust and gooey filling, each slice is a celebration of textures and flavors that will have everyone reaching for seconds. The preparation is straightforward, making it ideal for both novice and experienced bakers.
The combination of dark chocolate and the caramelized pecans creates a perfect balance of sweetness and crunch. Whether served warm with a scoop of vanilla ice cream or at room temperature with a dollop of whipped cream, this Chocolate Pecan Pie is sure to become a favorite in your dessert repertoire.
Ingredients:
- 1 pre-made pie crust
- 1 cup pecans, chopped
- 1/2 cup dark chocolate chips
- 3/4 cup corn syrup
- 1/2 cup granulated sugar
- 1/4 cup unsalted butter, melted
- 3 large eggs
- 1 teaspoon vanilla extract
- 1/4 teaspoon salt
Instructions:
- Preheat your oven to 350°F (175°C). Place the pre-made pie crust into a 9-inch pie dish, pressing it into the edges and trimming any excess dough. Poke a few holes in the bottom with a fork to prevent bubbling during baking.
- In a mixing bowl, combine the corn syrup, granulated sugar, melted butter, eggs, vanilla extract, and salt. Whisk together until the mixture is smooth and well blended.
- Stir in the chopped pecans and dark chocolate chips, ensuring they’re evenly distributed throughout the filling.
- Pour the filling mixture into the prepared pie crust, spreading it out evenly. Make sure the pecans and chocolate chips are evenly dispersed across the top.
- Bake in the preheated oven for 50-60 minutes, or until the filling is set and the top is golden brown. A slight jiggle in the center is normal, as it will firm up while cooling.
- Remove the pie from the oven and let it cool on a wire rack for at least 2 hours before slicing. This cooling period allows the filling to set properly, making it easier to cut clean slices.
Extra Tips: For an added depth of flavor, consider toasting the pecans in a dry skillet over medium heat for a few minutes before adding them to the filling. This will enhance their nuttiness and bring out their natural oils.
If you prefer a sweeter pie, feel free to increase the amount of sugar slightly, but be careful not to overpower the chocolate flavor. Serve with whipped cream or a scoop of ice cream for an extra indulgent treat!
Conclusion
Thanksgiving is all about creating memories, just like the time you tried to juggle three pies and dropped one—talk about a lesson in humility! With these 15 delightful recipes, you can craft a festive meal that’s just right for your small family. You won’t just fill your bellies; you’ll also fill your hearts with warmth and laughter. So, gather around the table, share stories, and enjoy every bite. After all, it’s the moments that matter most!

