No products in the cart.
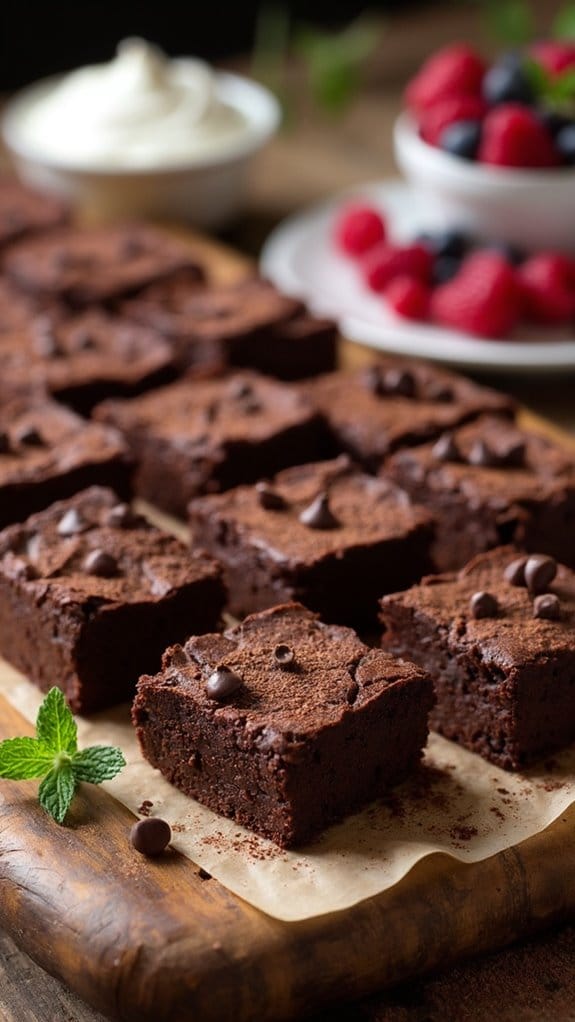
Flourless Yogurt Mousse Brownies – A Gluten-Free Delight
You’re about to fall in love with Flourless Yogurt Mousse Brownies! These gluten-free treats combine the rich taste of chocolate with the lightness of Greek yogurt, creating a moist, mousse-like texture that’s simply irresistible. With just a few ingredients—like cocoa powder, honey, and eggs—you can whip these up in about 40 minutes. Plus, they’re easy to customize with nuts or espresso. Once baked, let them cool, then enjoy them warm with a scoop of ice cream or a dollop of whipped cream. Curious about handy tips for storage or serving ideas? There’s plenty more to explore!
Origin of Flourless Brownies
Flourless brownies are often celebrated for their rich, fudgy texture and are frequently made with simple ingredients that highlight the chocolate flavor.
But have you ever wondered about their origin? The history of brownies dates back to the late 19th century, where they first emerged in America. Originally, brownies contained flour, but as gluten-free alternatives became popular, bakers began to experiment.
This led to the creation of flourless versions that both satisfy sweet cravings and cater to those avoiding gluten.
Imagine biting into a brownie that’s not just delicious but also comes with a story. The evolution of flourless brownies reflects a growing awareness of dietary needs, making indulgence accessible for everyone.
You’ll notice that these brownies maintain their beloved fudgy texture, thanks to the rich ingredients like chocolate and yogurt.
Recipe
These Flourless Yogurt Mousse Brownies are a decadent yet guilt-free treat that combines the richness of chocolate with the lightness of yogurt. They’re perfect for those who are looking for a gluten-free dessert that doesn’t compromise on flavor or texture.
The mousse-like consistency derived from the yogurt creates a moist brownie that melts in your mouth, while the cocoa powder adds a deep chocolate flavor that’s irresistible.
With just a few simple ingredients, these brownies come together quickly and easily, making them ideal for a weeknight dessert or a special occasion. Serve them warm with a dollop of whipped cream or a scoop of vanilla ice cream for an extra indulgence, or enjoy them plain for a healthier option.
These brownies aren’t only delicious but also provide a boost of protein and probiotics from the yogurt, making them a smart choice for satisfying your sweet tooth.
Ingredients:
- 1 cup Greek yogurt (plain or vanilla)
- 1/2 cup unsweetened cocoa powder
- 1/2 cup honey or maple syrup
- 2 large eggs
- 1 teaspoon vanilla extract
- 1/4 teaspoon salt
- 1/2 teaspoon baking powder
- Optional: dark chocolate chips for added richness
Preheat your oven to 350°F (175°C). Line an 8×8-inch baking pan with parchment paper, allowing some overhang for easy removal after baking. This will guarantee your brownies come out easily and maintain their shape.
In a mixing bowl, combine the Greek yogurt, cocoa powder, honey or maple syrup, eggs, vanilla extract, salt, and baking powder. Use a whisk to mix until smooth and well combined, assuring there are no lumps from the cocoa powder. If desired, fold in dark chocolate chips for an extra chocolatey bite.
Pour the brownie batter into the prepared baking pan, spreading it evenly with a spatula. Tap the pan gently on the counter to remove any air bubbles and create an even surface for baking.
Bake in the preheated oven for 20-25 minutes, or until a toothpick inserted into the center comes out with a few moist crumbs (not wet batter). Be careful not to overbake, as this will result in dry brownies.
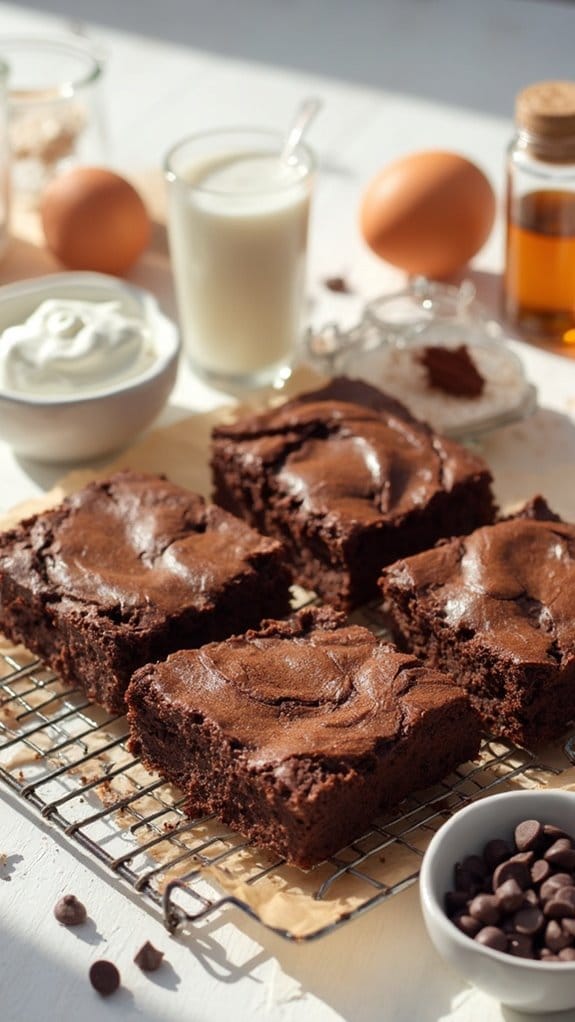
Once baked, remove the brownies from the oven and let them cool in the pan for about 10 minutes. Use the overhanging parchment paper to lift them out of the pan and transfer to a wire rack to cool completely before cutting into squares.
Extra Tips: For added flavor, consider mixing in some chopped nuts or a pinch of espresso powder to enhance the chocolate taste.
These brownies can be stored in an airtight container in the refrigerator for up to a week, and they actually taste even better the next day as the flavors meld together. For a fun serving idea, top each brownie with a spoonful of yogurt and fresh berries for a delightful presentation!
Flourless Yogurt Mousse Brownies Prep Time, Cooking Time & Serving Size
With just 15 minutes of prep time and 25 minutes of cooking, you can whip up a batch of these delicious brownies that serve 8. It’s truly that simple! You’re going to love how quick and easy this dessert comes together, making it perfect for those nights when you crave something sweet but don’t want to spend hours in the kitchen.
A few prep tips: Gather all your ingredients first, and don’t forget to line your baking pan with parchment paper. This little trick makes removing the brownies a breeze. Trust me, you’ll thank yourself later when you’re digging into those gooey squares!
For serving ideas, consider topping each brownie with a dollop of whipped cream or a scoop of vanilla ice cream. Feeling a bit fancy? Add a sprinkle of fresh berries for a pop of color and a burst of flavor.
You could also serve them plain, letting the rich chocolate flavor shine through. Whatever you choose, these brownies are sure to impress your friends and family.
Flourless Yogurt Mousse Brownies Cooking Steps
Ready to whip up some delicious brownies?
First, you’ll want to preheat your oven to 350°F and mix those ingredients until they’re smooth and inviting.
Once you pour the batter into your prepared pan, just sit back and let the magic happen as they bake for about 25 minutes!

Flourless Yogurt Mousse Brownies – A Gluten-Free Delight
Learn the secret to making Flourless Yogurt Mousse Brownies that are not only delicious but also packed with protein and probiotics for a healthier indulgence!
Equipment
- Mixing Bowl (For combining the ingredients.)
- Whisk (For mixing the batter until smooth.)
- 8×8-inch Baking Pan (For baking the brownies.)
- Parchment paper (For lining the baking pan for easy removal.)
- Measuring cups/spoons (For measuring ingredients accurately.)
- Wire rack (For cooling the brownies after baking.)
Ingredients
- 1 cup Greek yogurt (plain or vanilla)
- ½ cup cocoa powder (unsweetened)
- ½ cup honey (or maple syrup)
- 2 eggs (large)
- 1 tsp vanilla extract
- ¼ tsp salt
- ½ tsp baking powder
- dark chocolate chips (for added richness – optional)
Instructions
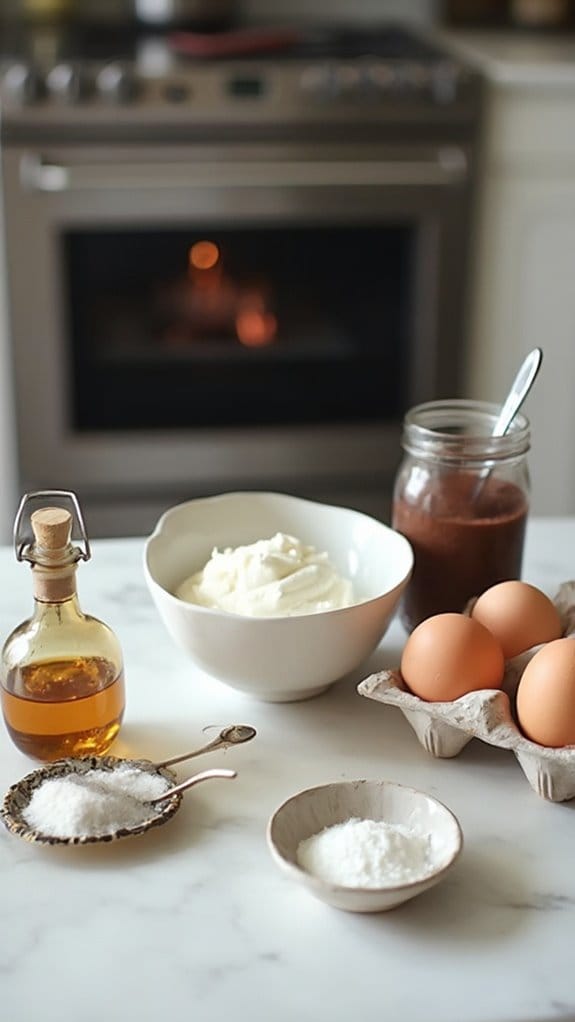
- Preheat Oven to 350°FBefore diving into the deliciousness of your Flourless Yogurt Mousse Brownies, you'll want to preheat your oven to 350°F (175°C). Trust me, this step is essential; the right oven temperature sets the stage for those fudgy, melt-in-your-mouth brownies you're craving.While the oven warms up, you can gather your ingredients and feel the excitement building!Here's a baking tip: always give your oven a few extra minutes to reach that perfect temperature. It might seem like a small detail, but it makes a big difference in baking. An oven that's too cool can lead to unevenly baked brownies, and nobody wants that!While you wait, why not line your 8×8-inch baking pan with parchment paper? This little trick guarantees your brownies lift out easily later, making cleanup a breeze. Plus, who doesn't love a perfect presentation?
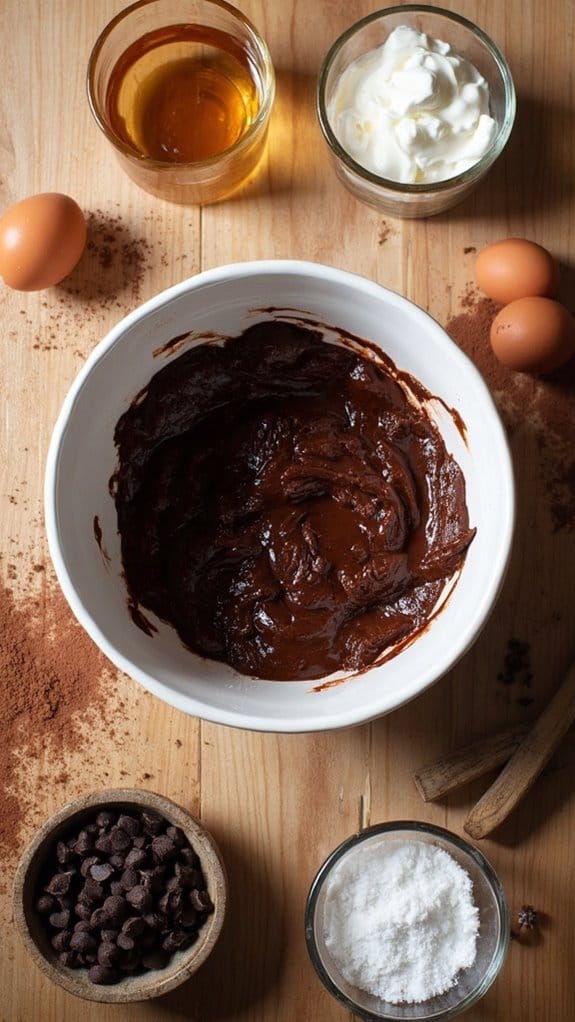
- Mix Ingredients Until SmoothIn a mixing bowl, combine the Greek yogurt, cocoa powder, honey or maple syrup, eggs, vanilla extract, salt, and baking powder. This is where the magic begins!Grab a whisk and start mixing; you'll want to incorporate all those ingredients until smooth and creamy. Don't rush it—take your time to guarantee there are no lumps, especially from the cocoa powder. Remember, a smooth batter means a beautifully textured brownie!If you're feeling adventurous, consider some ingredient variations. Maybe you want to swap out honey for agave syrup or add a splash of espresso to intensify that chocolate flavor.Experimenting with mixing techniques can also change things up! A gentle fold of dark chocolate chips at the end can add delightful pockets of richness.As you mix, think about how each ingredient contributes to the final treat. Isn't it satisfying to be one step closer to a delicious dessert?Once everything's blended, you'll see that lovely chocolatey goodness just waiting to be transformed into brownies. So, are you ready to pour it into the prepared pan?
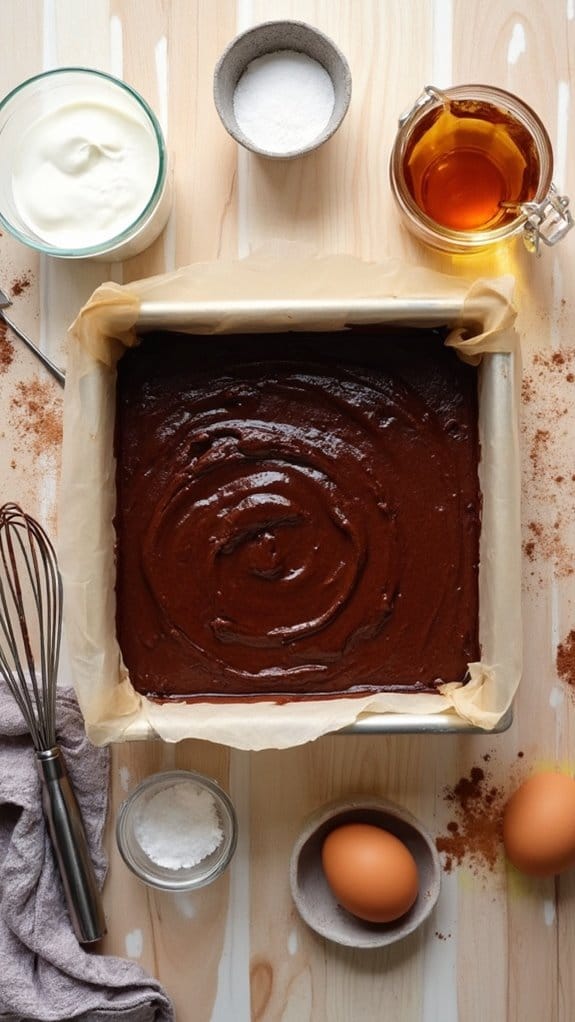
- Pour Into Prepared PanWith your smooth and creamy brownie batter in hand, it's time to pour it into the prepared baking pan. Grab that 8×8-inch pan lined with parchment paper—you've already set yourself up for success with this baking technique!Carefully spoon the rich batter in, letting it flow like a gentle river, and watch as it fills the corners of the pan. You want that gorgeous chocolate mixture to spread evenly, so use a spatula to coax it into place.Now, let's talk about air bubbles. Tapping the pan gently on the counter will help release any trapped air, ensuring your brownies bake up perfectly without those pesky holes. Isn't it fascinating how such simple steps can make all the difference?If you're feeling adventurous, think about adding some brownie variations! Maybe throw in some chopped nuts or dark chocolate chips for extra texture. Just imagine the joy of biting into a fudgy brownie studded with surprises!Once you've got it all smoothed out, you're one step closer to treating yourself to a delicious dessert. Can you taste it already?Keep that excitement alive as you're about to bake something truly special!
- Bake for 25 MinutesNow that your brownie batter is smoothly spread in the pan, it's time to bake! Preheat your oven to 350°F (175°C) if you haven't already.Pop that pan in the oven and set your timer for 20 to 25 minutes. As the brownies bake, you'll notice that delightful aroma wafting through your kitchen—trust me, it's worth the wait!Keep an eye on them; the goal is to pull them out when a toothpick inserted in the center comes out with a few moist crumbs, not wet batter. This is one of those essential baking techniques that can make or break your dessert. Overbaking will leave you with dry brownies, and we definitely don't want that!While you wait, think about how you might want to serve these beauties. Will you enjoy them plain, or try a dessert variation with whipped cream or fresh berries? The choice is yours!Baking is all about experimenting, so feel free to add your twist. Once the timer goes off, embrace the moment and take a peek at your creation—you're just a few steps away from a chocolaty delight!
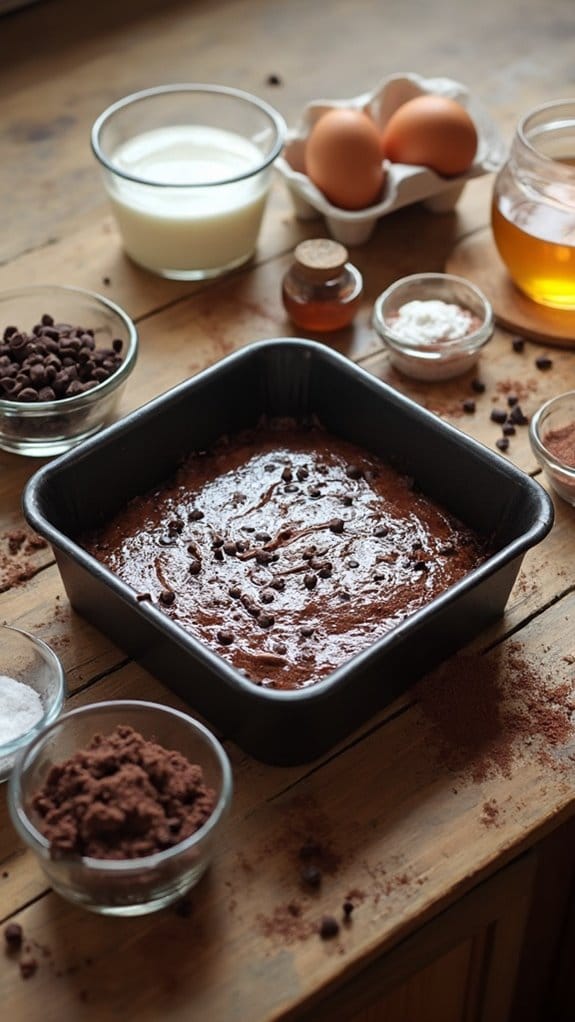
- Cool Before CuttingLet those brownies cool in the pan for about 10 minutes after baking. Trust me, this step is essential! If you try to cut them too soon, you'll end up with a gooey mess instead of those perfect squares you're dreaming of.Cooling tips? Place them on a wire rack if you have one; it helps air circulate around the brownies, letting them cool evenly.Once they've cooled a bit, it's time to transfer them. Use the parchment paper to gently lift them out of the pan. This little trick guarantees they keep their shape, making your cutting techniques much easier.Now, grab a sharp knife—this is key for clean cuts. You don't want to squish your delicious creation!When you're ready to slice, consider warming the knife under hot water first. It sounds fancy, but it really helps achieve those neat edges.
Nutrition
Calories: 109kcalCarbohydrates: 22gProtein: 5gFat: 2gSaturated Fat: 1gPolyunsaturated Fat: 0.2gMonounsaturated Fat: 1gTrans Fat: 0.01gCholesterol: 42mgSodium: 126mgPotassium: 144mgFiber: 2gSugar: 18gVitamin A: 60IUVitamin C: 0.1mgCalcium: 57mgIron: 1mg
Flourless Yogurt Mousse Brownies Swaps And Substitutions
If you want to customize your Flourless Yogurt Mousse Brownies, there are plenty of swaps and substitutions you can make without sacrificing flavor or texture.
Whether you’re avoiding certain ingredients or just want to mix things up, here are some delightful ingredient alternatives and dietary modifications to take into account:
Yogurt: Swap Greek yogurt for dairy-free yogurt for a vegan option.
Sweetener: Use agave nectar or coconut sugar instead of honey or maple syrup for a different sweet touch.
Cocoa powder: Try carob powder if you want a slightly different flavor profile.
Eggs: Replace each egg with 1/4 cup unsweetened applesauce or a flax egg (1 tablespoon flaxseed meal mixed with 2.5 tablespoons water) for a plant-based version.
Add-ins: Toss in some nuts, seeds, or dried fruits for a unique texture and flavor.
These substitutions let you tailor your brownies to fit your tastes and dietary needs.
Plus, they keep the joy of baking alive! Why not get creative and make these treats your own? You might just discover a new favorite way to indulge!
Flourless Yogurt Mousse Brownies Serving Suggestions And Meal Pairings
These Flourless Yogurt Mousse Brownies are incredibly versatile when it comes to serving suggestions and meal pairings.
You’ll love how easy it’s to elevate this delightful treat into something special. Whether you’re hosting a gathering or simply treating yourself, these brownies can shine in various ways.
Consider these garnish options for a lovely touch:
- A dollop of whipped cream or coconut whipped cream
- Fresh berries like strawberries, raspberries, or blueberries
- A sprinkle of powdered sugar for elegance
- A drizzle of melted dark chocolate for extra indulgence
- A scoop of vanilla or mint ice cream for a classic dessert pairing
Feeling adventurous? Combine them with a cup of rich coffee or a revitalizing herbal tea.
The contrast of flavors will take your dessert experience up a notch. You could even pair these brownies with a fruit salad for a light and invigorating meal.
No matter how you choose to serve them, you’re sure to impress.
After all, who wouldn’t enjoy a little bit of chocolatey goodness in their life? Just picture the smiles as you share these brownies with your loved ones. They won’t last long!
Refrigerate in an Airtight Container
Storing your Flourless Yogurt Mousse Brownies properly guarantees they stay fresh and delicious for days. Once they’ve cooled completely, pop them into an airtight container to lock in that moisture and flavor. Trust me, you’ll want to savor every bite!
Here are some nifty refrigeration tips to keep in mind:
Choose the Right Container Types: Glass containers work wonders for keeping flavors intact.
Don’t Overcrowd: Leave a bit of space between brownies to avoid squishing them.
Layer Wisely: If stacking, place parchment paper between layers to prevent sticking.
Seal Tight: Make sure the lid is on snugly to keep air out.
Chill Out: Store them in the fridge for up to a week—though they probably won’t last that long!
You might find that these brownies taste even better the next day as the flavors meld together.
Frequently Asked Questions
Curiosity often leads to the best culinary creations, and you might’ve some questions about making and enjoying your Flourless Yogurt Mousse Brownies.
Let’s plunge into some common queries to help you out!
- What gluten alternatives can I use in this recipe?
- How can I enhance the flavor of my brownies?
- Can I substitute Greek yogurt with something else?
- What’re some essential baking tips for beginners?
- How do I store leftover brownies for maximum freshness?
If you’re wondering about gluten alternatives, feel free to experiment with almond flour or oat flour—they work wonders!
For flavor, a touch of espresso powder or chopped nuts can take your brownies to the next level.
As for yogurt, you can swap in a dairy-free yogurt if you prefer.
Don’t forget these baking tips: always preheat your oven, and watch your brownies closely to avoid overbaking.
Finally, store any leftovers in an airtight container to keep them moist and delicious.
Final Thoughts
Baking Flourless Yogurt Mousse Brownies isn’t just about following a recipe; it’s about creating a delicious treat that can fit into various lifestyles, especially for those seeking gluten-free options.
You’re not just whipping up brownies; you’re crafting a dessert that bridges indulgence and health benefits. Who says dessert can’t be nutritious? With Greek yogurt packed with protein and probiotics, you get a sweet treat that loves you back!
These brownies serve as perfect dessert alternatives, satisfying your cravings without the guilt. Imagine enjoying a rich chocolate brownie that also supports your well-being. Sounds like a win-win, right?
Plus, they’re incredibly easy to make, which means you can whip them up for a last-minute gathering or a cozy night in.

