No products in the cart.
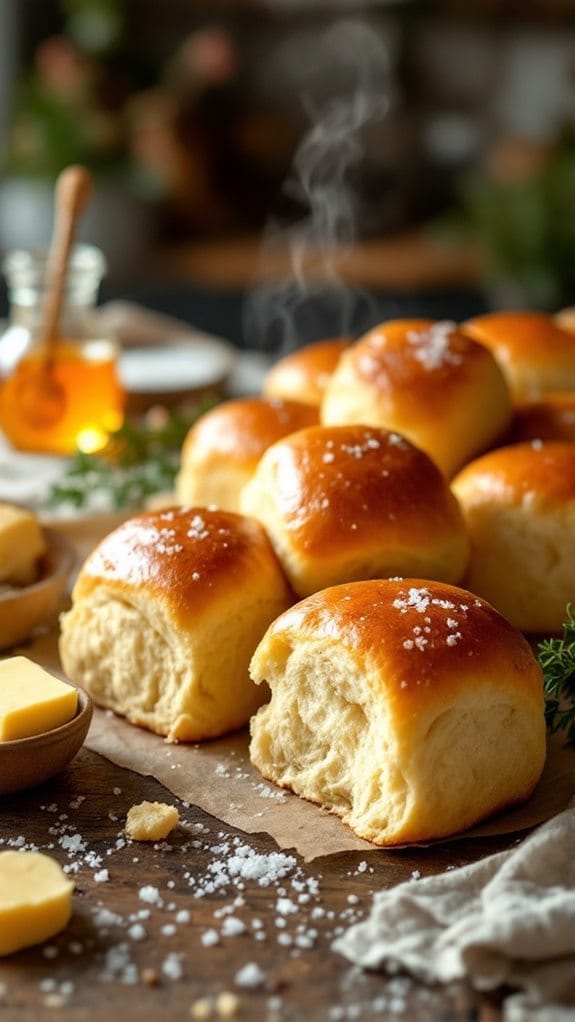
Fluffy Honey Butter Quick-Cooking Dinner Rolls
Imagine serving a warm basket of Fluffy Honey Butter Quick-Cooking Dinner Rolls alongside your favorite roasted chicken; it’s a simple yet elegant touch that elevates any meal. You might wonder how such a delightful addition can come together in under an hour, combining ease with impressive results. The process isn’t just about the ingredients; it’s about mastering a few key steps to achieve that perfect texture and flavor. Curious about how to make these rolls a staple in your kitchen? Let’s explore the origins and the recipe next.
Contents
hide
Origin of Honey Butter Quick-Cooking Dinner Rolls
Honey butter rolls have their roots in American cuisine, where the combination of sweet honey and rich butter enhances the flavor of soft, fluffy bread. Can you picture a cozy dinner table, surrounded by laughter, as warm rolls are passed around?
Honey’s history dates back thousands of years, cherished for its sweetness and natural goodness. Ancient cultures revered it not just as a food, but as a symbol of prosperity. Butter, on the other hand, has origins that trace back to early farmers who discovered the magic of churning cream. Mixing these two ingredients brings a unique charm to your rolls.
Imagine biting into a warm roll, the honey melting into the buttery goodness, creating an irresistible experience. These rolls aren’t just a side dish; they’re a celebration of simple ingredients coming together. They remind us of the comfort found in home-cooked meals and the joy of sharing them with loved ones.
Isn’t it wonderful how something as simple as honey and butter can create such warmth? So, when you enjoy honey butter rolls, you’re not just tasting a delightful dish; you’re savoring a piece of culinary history that brings us all closer together.
Recipe
These Fluffy Honey Butter Quick-Cooking Dinner Rolls are the perfect addition to any meal, providing a warm and comforting touch to your dining experience. Made with simple ingredients and minimal effort, these rolls come out soft, buttery, and just sweet enough to satisfy your cravings.
Ideal for family dinners, holiday gatherings, or casual get-togethers, these rolls will have everyone reaching for seconds. Using a quick-rising yeast method, these rolls can be prepared in under an hour, making them a great option for those busy weeknights when you want to add a homemade touch to your table.
The honey butter glaze brushed on top before baking gives these rolls a golden-brown finish and an irresistible aroma that will fill your kitchen. Enjoy them fresh out of the oven or warmed up the next day!
Ingredients:
- 4 cups all-purpose flour
- 1 packet (2 ¼ teaspoons) instant yeast
- 1/4 cup honey
- 1 teaspoon salt
- 1 cup warm milk (110°F/43°C)
- 1/4 cup unsalted butter, melted
- 1 large egg
- 2 tablespoons honey (for glaze)
- 2 tablespoons melted butter (for glaze)
Instructions:
In a large mixing bowl, combine the warm milk, melted butter, honey, and instant yeast. Whisk together until the yeast is dissolved. Allow the mixture to sit for about 5 minutes until it becomes frothy, indicating that the yeast is active.
Add the egg, salt, and 2 cups of flour to the yeast mixture. Stir with a wooden spoon until combined. Gradually add the remaining flour, 1/2 cup at a time, mixing until a soft dough forms and starts to pull away from the sides of the bowl.
Turn the dough out onto a lightly floured surface and knead for about 5 minutes until smooth and elastic. If the dough is too sticky, add a little more flour as needed.
Shape the dough into a ball and place it in a greased bowl, covering it with a clean kitchen towel. Let it rise in a warm place for about 20 minutes or until it has doubled in size.
Preheat your oven to 375°F (190°C) and line a baking sheet with parchment paper. Once the dough has risen, punch it down and divide it into 12 equal pieces. Roll each piece into a ball and place them on the prepared baking sheet, about 1 inch apart.
In a small bowl, mix together the 2 tablespoons of honey and melted butter for the glaze. Brush the mixture generously over the tops of the rolls.
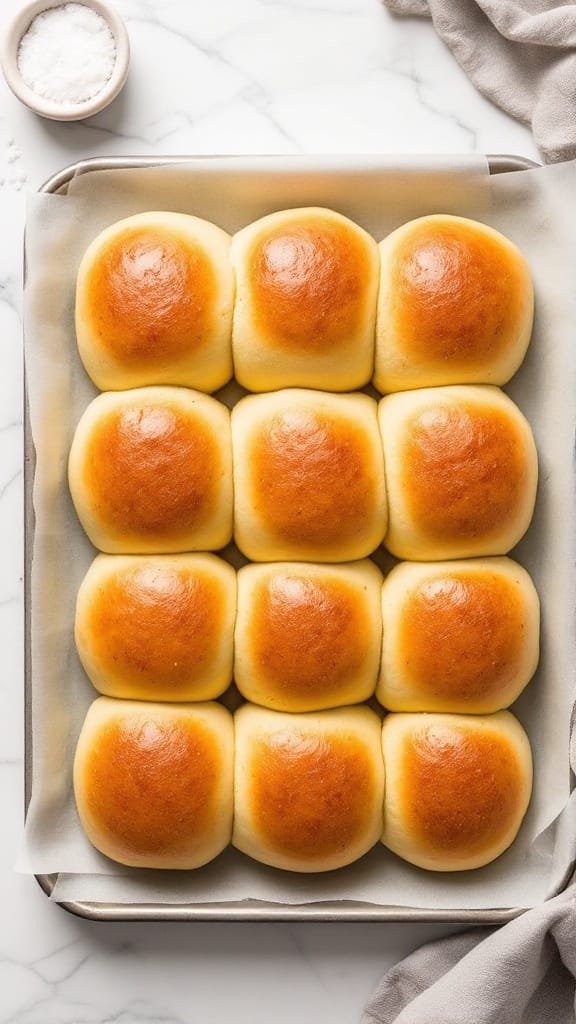
Bake the rolls in the preheated oven for 15-20 minutes or until they’re golden brown. Remove from the oven and allow them to cool slightly before serving.
Extra Tips: For an extra touch, you can sprinkle some sea salt on top of the rolls before baking for a sweet and salty flavor combination.
These rolls can be made ahead of time and frozen after baking; simply reheat them in the oven for a few minutes before serving. Enjoy these fluffy rolls warm with butter or as a side to your favorite soups and stews!
Honey Butter Quick-Cooking Dinner Rolls Prep Time, Cooking Time & Serving Size
When you’re in a hurry but still want to enjoy homemade rolls, these Fluffy Honey Butter Dinner Rolls are a fantastic option. With just 10 minutes of prep time and 20 minutes of cooking, you’ll have a warm batch ready in under an hour. Perfect, right? This recipe yields 12 delicious rolls, making it an ideal choice for family dinners or gatherings.
You might be wondering about dinner roll variations. You can easily swap out ingredients to suit your taste, like incorporating herbs or cheese for a savory twist.
But let’s not forget the honey butter benefits! That glaze not only adds a delightful sweetness but also brings a rich, buttery flavor that makes these rolls irresistible.
Imagine serving these rolls fresh from the oven, their golden-brown tops glistening with honey butter. They’re the comforting touch every meal needs.
Plus, if you have any leftovers (which is rare), they can be warmed up the next day for a quick snack. So, why not give these quick-cooking rolls a try? You’ll be glad you did!
Honey Butter Quick-Cooking Dinner Rolls Cooking Steps
Let’s get started on making those delicious dinner rolls!
First up, you’ll mix warm milk with yeast, which is key for that fluffy texture.
Once that’s bubbly, you’ll add in the egg and salt, knead the dough until it’s elastic, and then let it rise—trust me, the wait will be worth it!

Honey Butter Quick-Cooking Dinner Rolls
Discover how to make Fluffy Honey Butter Quick-Cooking Dinner Rolls in 30 minutes! Perfect for family dinners or holiday gatherings.
Equipment
- Large Mixing Bowl
- Baking sheet
- Parchment paper
- Whisk
- Oven
Ingredients
- 4 cups flour (all-purpose)
- 2 1/4 tsp instant yeast (1 packet)
- 1 tsp salt
- 1 cup milk (warm, 110°F/43°C)
- 1/4 cup butter (unsalted, melted)
- 1 egg (large)
Glaze
- 2 tbsp honey
- 2 tbsp butter (melted)
Instructions
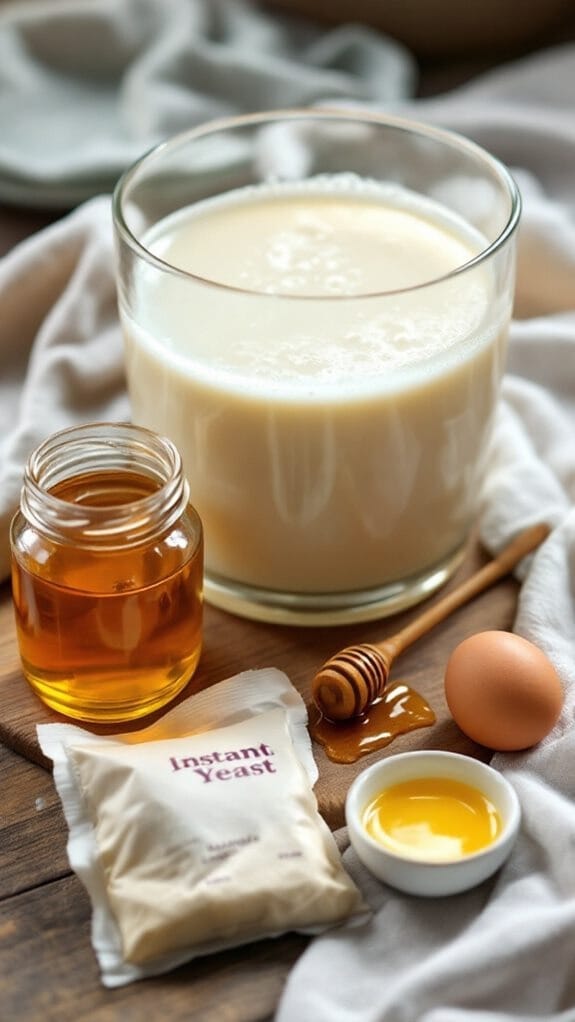
- Mix Warm Milk and YeastTo kick off your Fluffy Honey Butter Dinner Rolls, start by mixing the warm milk and yeast in a large mixing bowl. Confirm your milk temperature is just right—around 110°F (43°C)—to guarantee proper yeast activation. Too hot, and you'll kill the yeast; too cold, and it won't wake up.Pour the warm milk into your bowl, then sprinkle the instant yeast on top. Give it a gentle whisk until the yeast dissolves completely. Now, let this mixture sit for about 5 minutes. This waiting period is essential; you want to see it become frothy, which means your yeast is happily activating and ready to do its job.Just picture that bubbly goodness—it's like a little party in your bowl! Once you see those bubbles, you know you're on the right track. This step is the foundation for those soft, fluffy rolls you're dreaming of.
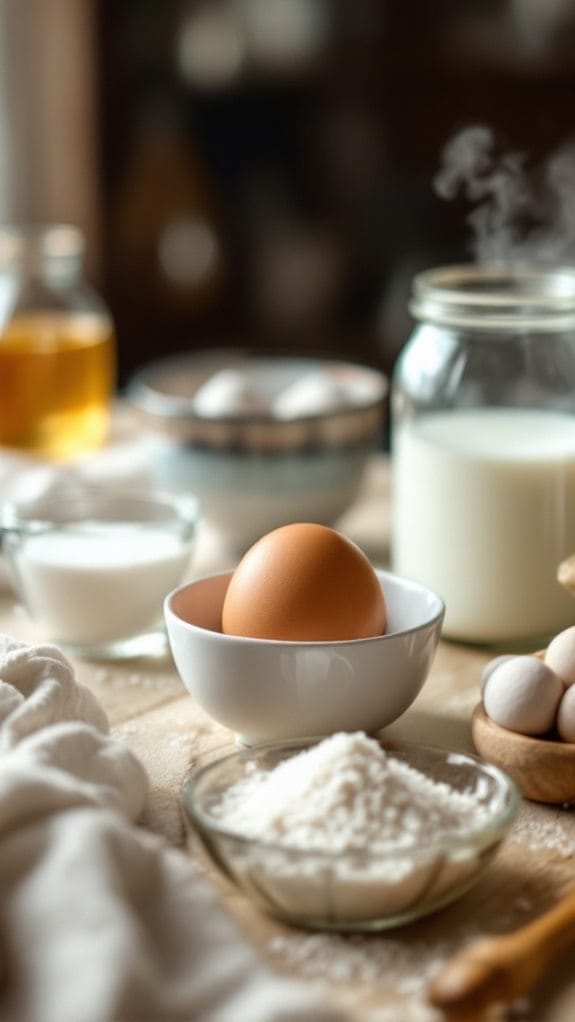
- Incorporate Egg and SaltAfter your yeast mixture has become frothy, it's time to incorporate the egg and salt. This step not only enhances the flavor but also brings a lovely richness to your rolls. Eggs are like little powerhouses in baking—they add moisture and help create that fluffy texture we all crave. Plus, they're loaded with protein, which can make your rolls even more satisfying!Now, grab that large egg and crack it right into your yeast mixture. You'll want to whisk it in until it's fully blended, creating a beautiful harmony of ingredients.Next, sprinkle in your salt. You can use different salt types, like kosher or sea salt, depending on your preference. Each offers a unique touch, so don't hesitate to choose what speaks to you.Mix in about two cups of flour at this point, stirring until everything combines. The dough should start to come together and pull away from the sides of the bowl.Feel that excitement? You're one step closer to those delicious rolls! Keep your spirits high and enjoy the process; soon, your kitchen will smell divine!
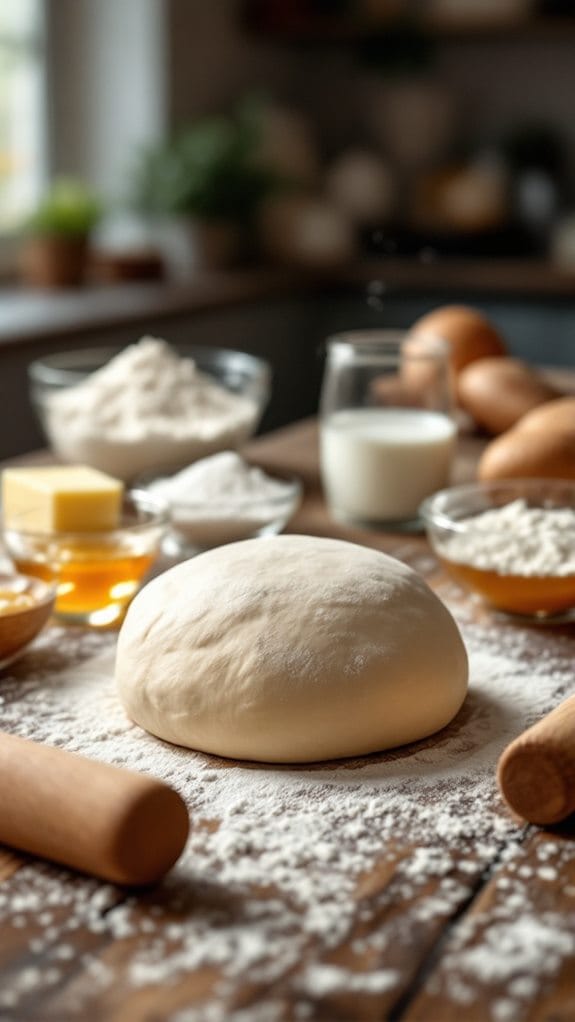
- Knead Dough Until ElasticNow that your dough has come together beautifully, it's time to knead it until it's smooth and elastic. This step is essential for achieving that delightful fluffiness in your rolls. Trust me, you'll want to use some effective kneading techniques here!Start by turning your dough out onto a lightly floured surface. Gently push it away from you with the heels of your hands, then fold it back over itself. Repeat this motion, adding a little flour if it feels sticky. You're looking for that perfect dough elasticity, which means the dough should stretch without tearing. It's almost like giving your dough a little massage—who doesn't love that?Knead for about 5 minutes, and feel free to channel your inner baker! If you find your thoughts wandering, just imagine the delicious rolls that await you. You want the dough to be smooth and springy, ready to rise and become something magical.
- Form Into Roll ShapesOnce your dough has risen and doubled in size, it's time to shape those fluffy rolls. You'll want to punch down the dough gently, releasing any trapped air, before dividing it into 12 equal pieces.When it comes to roll shaping techniques, think of a little ball of magic in your hands! Take one piece of dough and gently stretch it into a round shape, tucking the edges underneath to create a smooth surface. If your dough feels too sticky, don't hesitate to sprinkle a little flour on your hands. Trust me, it makes a world of difference!As you shape each roll, place them about an inch apart on your lined baking sheet. This spacing is essential; it lets them rise beautifully and gives each roll room to shine.Feeling creative? You can even roll them into different shapes—like knots or crescents—just to mix things up.Just remember, the dough texture should be soft yet elastic, and you'll know you're on the right track! So go ahead, get your hands a little messy, and enjoy the process of creating these delightful rolls. They're going to be so worth it!
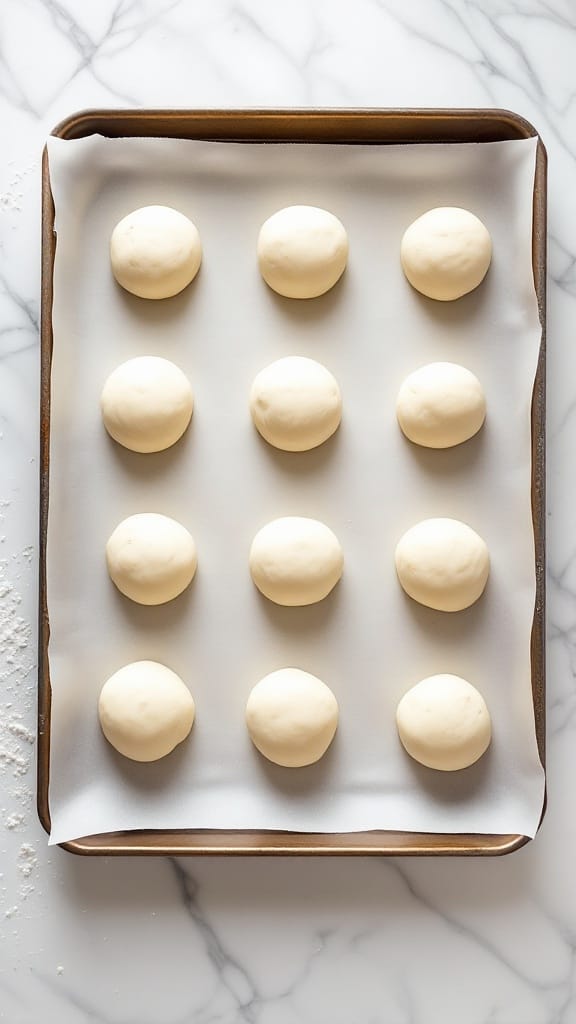
- Let Dough Rise for 30 MinutesLetting the dough rise for 30 minutes is essential for achieving those fluffy, airy dinner rolls you crave. This step allows the yeast to work its magic, creating a light and tender texture. During this time, you'll want to verify the dough temperature is ideal—around 75 to 80°F (24 to 27°C) is perfect for maximum rising.Find a cozy spot in your kitchen, perhaps near a warm oven or on a sunny windowsill, where the dough can enjoy a nice rising environment. Cover it with a clean kitchen towel, which keeps things warm and cozy. You might even catch the delightful aroma of the dough as it puffs up, filling your space with anticipation.Now, resist the urge to peek too often; let it do its thing! After about 30 minutes, you'll notice that the dough has doubled in size. Isn't it amazing how a little patience can lead to such delicious rewards?Once it's risen, you'll be ready to shape those rolls and get them one step closer to your table. Trust me, the wait is worth it for those fluffy bites that'll have everyone coming back for more!
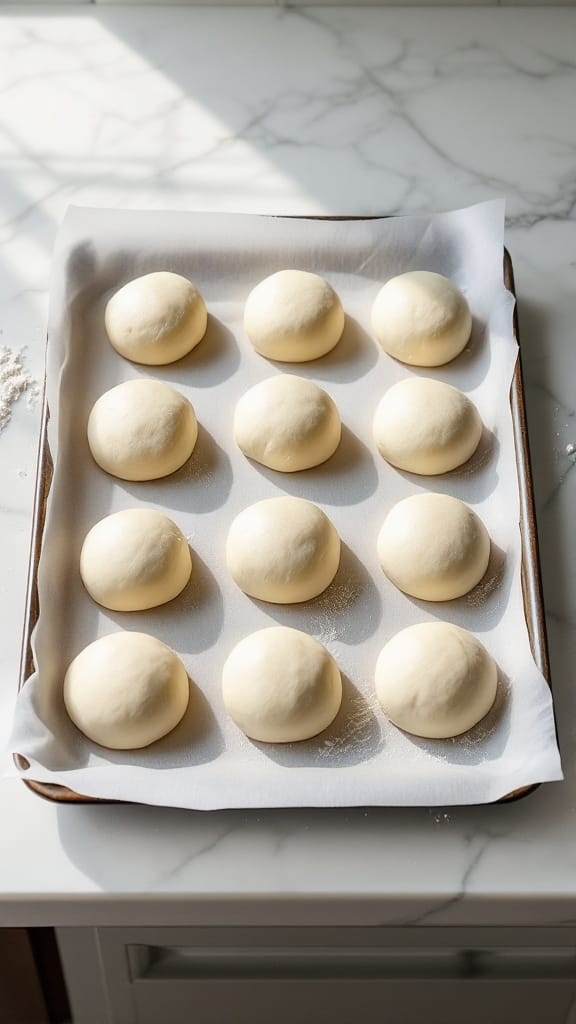
- Bake Until Golden BrownAfter the dough has risen and doubled in size, it's time to shape and bake those delightful rolls.You'll want to preheat your oven to 375°F (190°C), creating a warm environment for your rolls to thrive. Line a baking sheet with parchment paper, making cleanup a breeze.Now, punch down the dough—don't worry, it's just a gentle nudge. Divide it into 12 equal pieces, and roll each piece into a smooth ball. Place them on the baking sheet, giving them a bit of space to expand.Here's where the magic happens: brush your honey and melted butter glaze generously over the tops. This baking technique not only adds flavor but also guarantees that golden-brown finish we all crave.Pop those beauties in the oven for 15-20 minutes. As they bake, your kitchen will fill with an irresistible aroma—can you smell it? Keep an eye on them; you want a lovely golden hue, not overly brown.Serve them warm, and watch everyone reach for seconds. With these roll variations, you'll have everyone asking for your secret! Enjoy every fluffy bite!
Nutrition
Calories: 238kcalCarbohydrates: 37gProtein: 6gFat: 7gSaturated Fat: 4gPolyunsaturated Fat: 0.5gMonounsaturated Fat: 2gTrans Fat: 0.2gCholesterol: 31mgSodium: 254mgPotassium: 105mgFiber: 2gSugar: 4gVitamin A: 229IUVitamin C: 0.02mgCalcium: 36mgIron: 2mg
Swaps And Substitutions
When it comes to baking Fluffy Honey Butter Dinner Rolls, you can easily make swaps and substitutions to suit your taste or dietary needs.
Whether you’re looking for ingredient alternatives or just want to tweak the recipe, I’ve got you covered!
- Flour Choices: If you’re after a gluten-free option, try using a 1-to-1 gluten-free flour blend. It works surprisingly well and keeps those fluffy vibes alive!
- Sweeteners: Instead of honey, maple syrup or agave nectar can add a unique twist. Plus, it’s perfect if you’re avoiding honey for dietary adjustments.
- Dairy-Free: Swap out the milk for almond milk or oat milk, and use coconut oil instead of butter for a delightful dairy-free version.
Embracing these swaps not only makes the rolls fit your lifestyle but also brings out new flavors you might just fall in love with.
Who knew baking could be so flexible? So go ahead, get creative!
After all, these rolls are meant to be enjoyed by you and your loved ones—whatever your dietary preferences may be!
Serving Suggestions And Meal Pairings
These Fluffy Honey Butter Dinner Rolls are incredibly versatile and can complement a wide range of meals. Whether you’re hosting a cozy family dinner or a festive gathering, these rolls can elevate your dining experience. Their delightful sweetness pairs beautifully with savory dishes, making them an essential addition to your table.
Consider these delicious dinner pairings:
- Hearty Soups: Serve them alongside a warm bowl of tomato basil or creamy potato soup to soak up every last drop.
- Roasted Meats: Enjoy them with a succulent roast chicken or a juicy beef brisket, adding a touch of sweetness to the meal.
- Salads: Pair these rolls with a fresh garden salad drizzled in a tangy vinaigrette for a delightful contrast in flavors.
You might even want to experiment with flavor variations, like adding herbs or garlic to the dough. Imagine the aroma wafting through your kitchen!
Wrap in Foil
Wrapping your Fluffy Honey Butter Dinner Rolls in foil is a smart way to keep them warm and fresh, especially if you’re serving them at a gathering.
Nobody wants to bite into a cold roll, right? Foil provides excellent roll storage and keeps the rolls soft and buttery, just the way you love them.
Plus, using foil has some great benefits:
- Heat Retention: It traps heat effectively, ensuring your rolls stay warm for longer.
- Moisture Control: Foil helps seal in moisture, preventing your rolls from drying out.
- Convenience: Easy to wrap and transport, foil makes it simple to take your rolls wherever you go.
Frequently Asked Questions
Curious about making the perfect Fluffy Honey Butter Dinner Rolls? You’re not alone! Many home bakers have questions, especially when it comes to achieving that dreamy dough texture and ensuring proper yeast activation.
Let’s explore some common inquiries:
- What should the dough feel like? Your dough should be soft and slightly tacky, pulling away from the bowl’s sides as you mix. If it’s too sticky, don’t hesitate to add a bit more flour.
- How can I tell if my yeast is activated? After mixing the warm milk and yeast, let it sit for about 5 minutes. If it’s frothy and bubbly, congratulations! Your yeast is ready to work its magic.
- Can I make these rolls ahead of time? Absolutely! You can prepare the dough, let it rise, and then refrigerate it overnight. Just remember to bring it back to room temperature before shaping and baking.
These rolls are sure to impress, so don’t worry—your kitchen will be filled with warmth and deliciousness. Happy baking!
Final Thoughts
Baking Fluffy Honey Butter Dinner Rolls can be a rewarding experience, especially with the tips shared in the FAQs. You’re not just making dinner rolls; you’re creating a slice of history. Did you know that dinner rolls have been a staple in American homes for centuries? They’ve evolved from simple bread to the fluffy delights you’re about to whip up.
Now, let’s talk about those honey butter benefits. Honey adds a natural sweetness that not only enhances flavor but also brings moisture to your rolls. Plus, it’s a healthier alternative to refined sugars. Who doesn’t love a little sweetness without the guilt?
Imagine pulling these golden-brown rolls out of the oven, the aroma wrapping around you like a warm hug. Serving them at your next family dinner or holiday gathering will surely impress everyone.
They’re perfect for soaking up gravy or enjoying with a pat of butter.

